
How to Create an Attractive Article in Word 2013?
Introduction
In order to attract your readers and to provide them with a great reading experience, it’s important that you as a writer think about the layout and the design of your article – as well as the contents. There are a number of tools in Word 2013 that can help you create an attractive article.
Introduction to the document
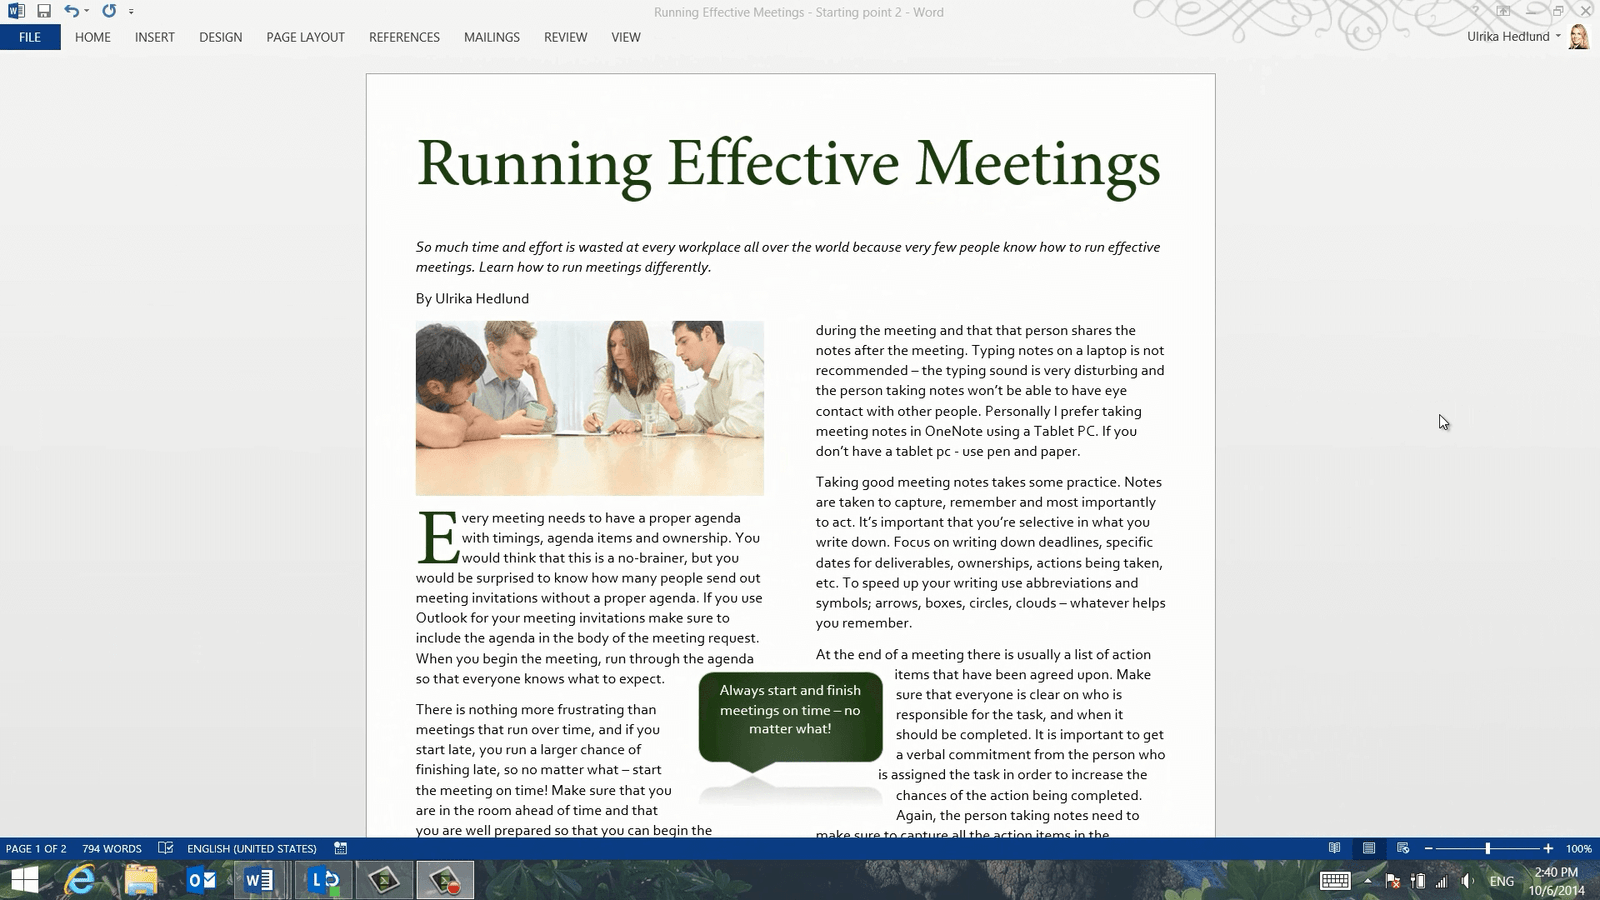
Here I have a text that I have written for an article on “Running effective meetings”. I’m going to show you how I can use the formatting tools within Word to make the article look like this instead, a much more attractive article.
How to change margins in Word?
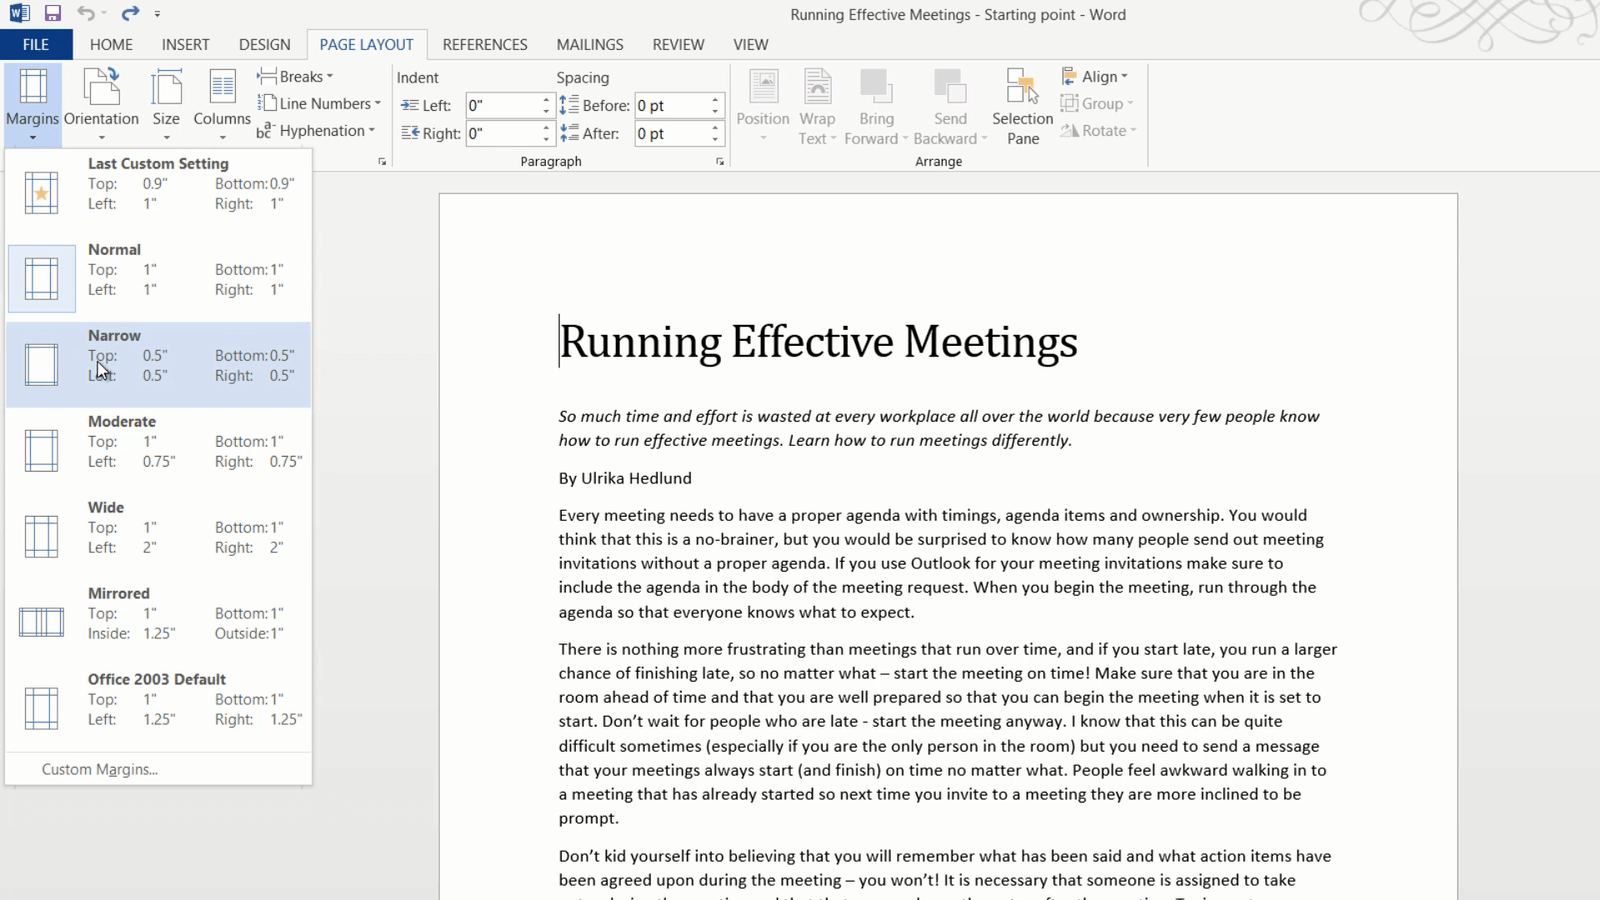
First I want to make better use of the paper by reducing the margins. To change the margins of a document, go to the “PAGE LAYOUT” tab and click “Margins”. Here you can select from a number of pre-defined margin settings. You can also define exactly how wide you want the margins to be by clicking “Custom” and entering the exact measurements. I’ll click Cancel here and go back to the Margin settings. If you have set up custom margins before, the last used custom settings are available on the menu. In this case, I’ll select “Narrow” margins and as you can see the text now fills out more of the page.
How to arrange text in columns in Word?
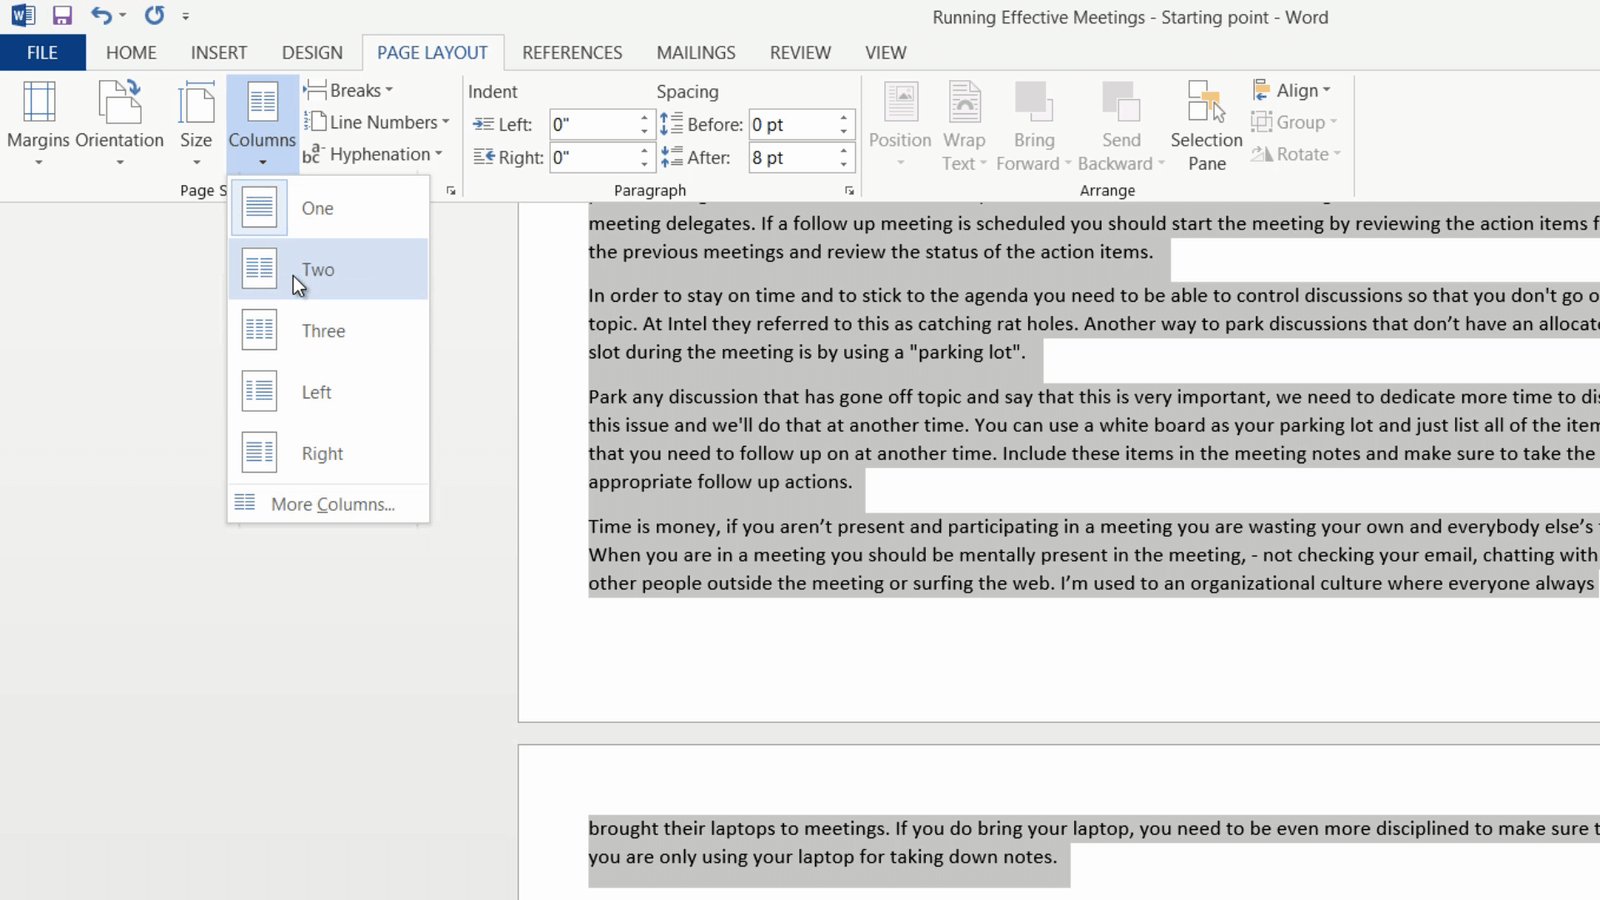
Now I want to change the layout of the text into two columns. I want the title or the headline and the sub-headline to remain in one column, I only want the body text of the article to be arranged into two columns. To arrange text into columns, mark the text you want to re-arrange. To mark large chunks of text place the marker at the beginning of the text and then scroll down to the end, hold down Shift on the keyboard and then mark the end of the text. On the “PAGE LAYOUT” tab click “Columns.” Select the number of columns you want, here I’ll select “Two” columns.
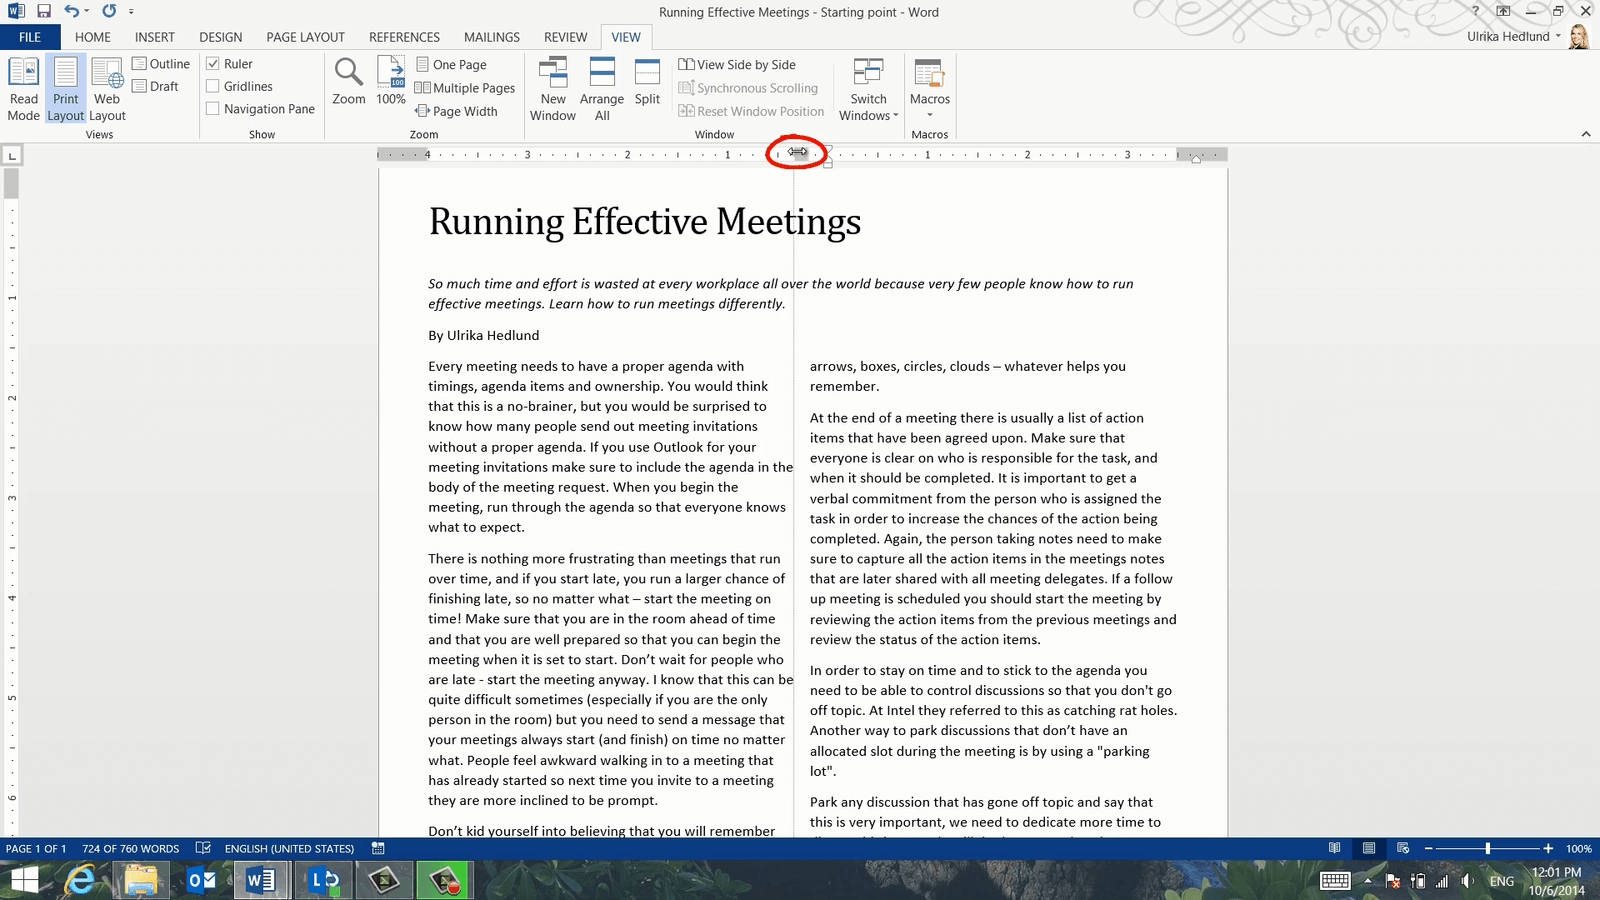
The text is now arranged into two columns. If you want to change the spacing between the columns open up the ruler by clicking the “VIEW” tab and then mark the “Ruler” option. To change the width between the columns, move your mouse until it becomes a double-sided arrow, now hold down the left mouse button and then move the marker with your mouse.
How to work with images in Word?
Now I want to add some pictures to make the article easier to digest. To insert a picture into your document, place the cursor where you want to position the picture and click the “INSERT” tab. I want to insert a picture from the Internet so I’ll click “Online Pictures”. In this case, I want to use a royalty-free image from Microsoft’s ClipArt library on Office.com. I’ll write “meeting” in the search text box and select this one by marking it and clicking “Insert”.
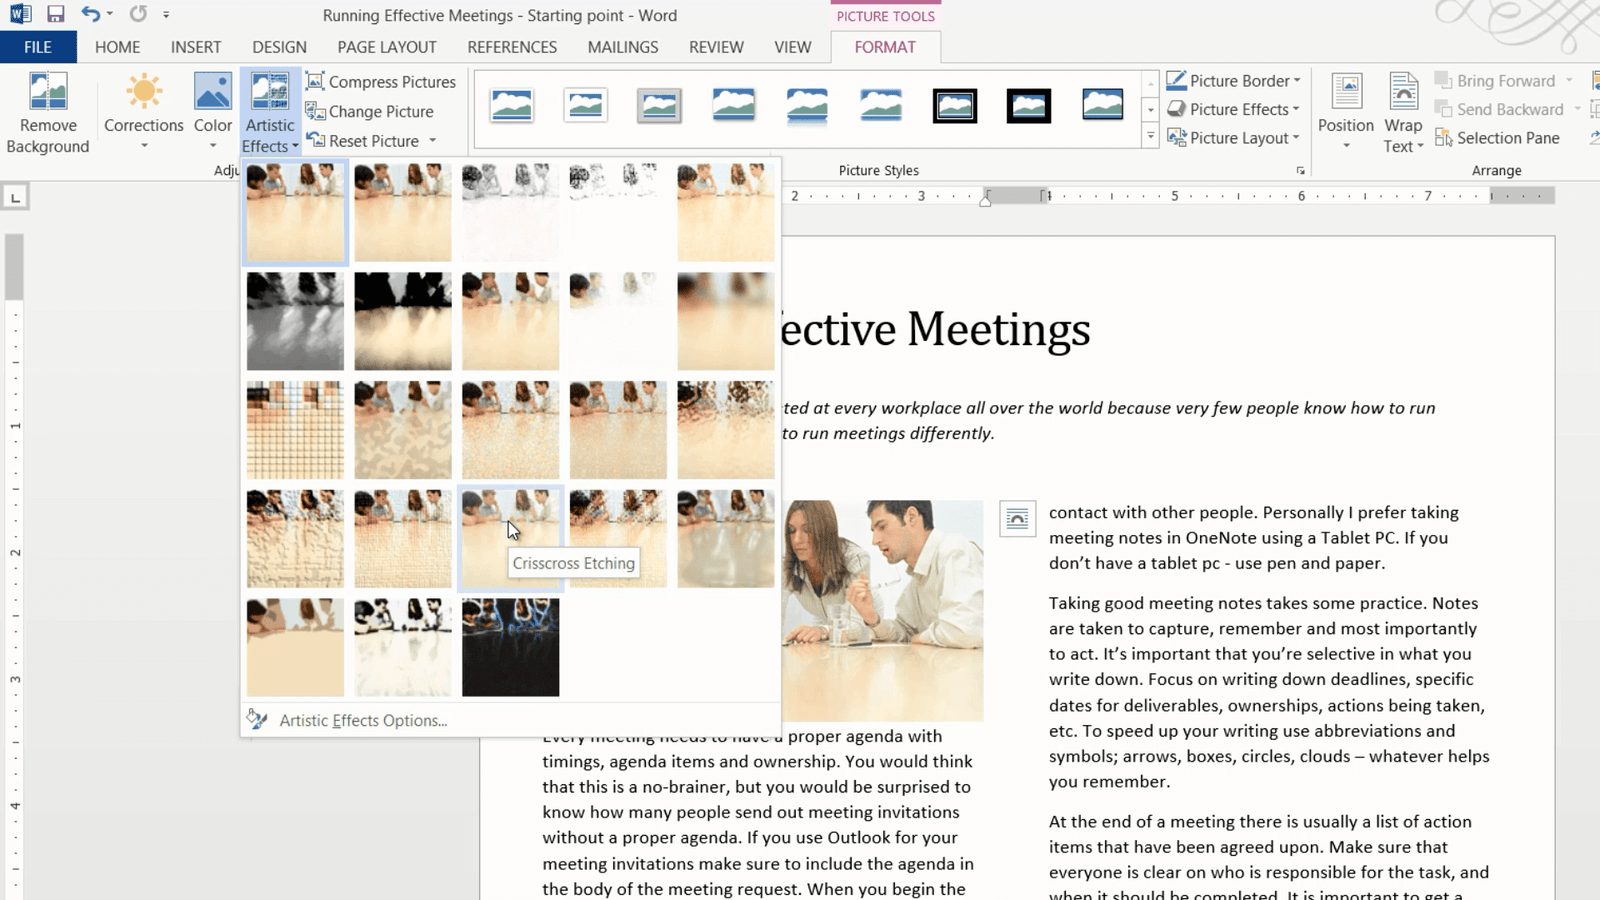
The image is a bit too big, so I’ll click “Crop” and then I’ll crop the picture to an appropriate size. Now I want to change the image a bit by adding an artistic effect to it. To apply an artistic effect to your picture, mark the image and click “Artistic Effects” in the “PICTURE TOOLS” menu. You get a live preview of what different effects look like. The “Blur” effect is great if you want to censor something, like a face or a credit card number. The “Film Grain” effect is good if you want to make something look older. Here I’ll select the “Crisscross Etching” effect which is quite subtle.
How to position images in Word?
I’ll insert one more image, this time I want to insert a picture that I have on my computer so I’ll click “INSERT”, “Pictures” and select my image.
When you insert an image in Word 2013 a layout button appears. Click on the “LAYOUT OPTIONS” buttons to see how you can position your image.

Here you can select if you want your image to be placed in line with text, or if you want it with text wrapping. The default layout is “In Line with Text”. I’ll select to position the image with text wrapping using the “Square” option. If you often use this layout you can set it as the default by right-clicking and select “Set as Default”.
You can also select if you want the image to be positioned relative to the text or relative to the page. I want this image to be located at the bottom right corner of the page, so I’ll select, “Fix position on page” and then I’ll close down the “LAYOUT OPTIONS”. Now I can position the picture where I want it on the page. I get a live preview of what the positioning of the image will look like. The new alignment guides help me position the images more precisely. The little anchor shows me what text the image belongs.
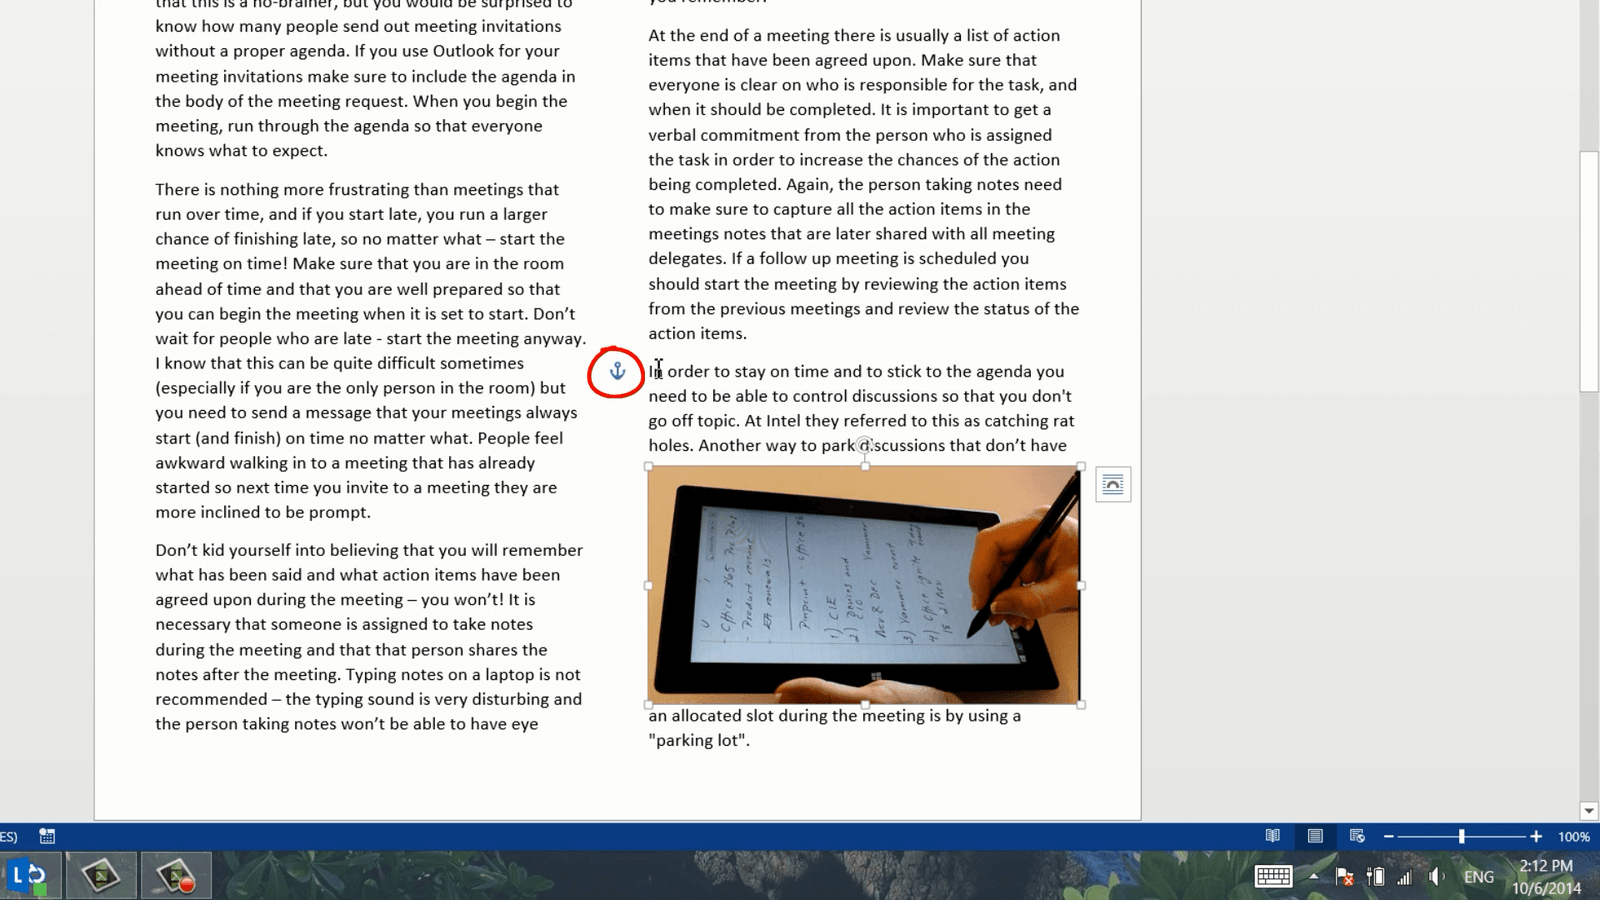
Even though I’ve said I want the image to have a fixed position on the page, the image always belongs to a defined text that needs to be on the same page. In this case, the image belongs to the paragraph starting with “Taking good meeting notes”. So to anchor the image with that text, I’ll just grab the anchor and move it to that paragraph. If I insert a page break and move the paragraphs after the anchored text, the image will remain in the position since the anchoring text is still on the same page. If however, I change the page break so that the anchored text moves to the next page, the image will also move, having the same fixed position, but on the next page.
Again I want to apply the same artistic effect to this picture so I’ll mark the image, Click “Artistic Effects” and select the “Crisscross Etching” effect.
How to insert a caption for an image in Word?
I want to add a caption to this image. Along with the title, the lead, and section headings, captions are the most commonly read words in an article, so they should be concise and informative. To insert a caption go to the “REFERENCES” tab and click “Insert Caption”.

I don’t want the caption to have a label, but even if I select the option “Exclude label from caption” the caption number will be shown, so I’ll just leave this option and delete the label from the text box instead. I’ll write the caption and then click “OK”. Now I’ll remove the caption label from the text box by marking it and pressing Delete. I’ll mark the image, right-click and select “Group”. This way the caption stays with the image no matter where I move it.
How to add a Callout in Word 2013?
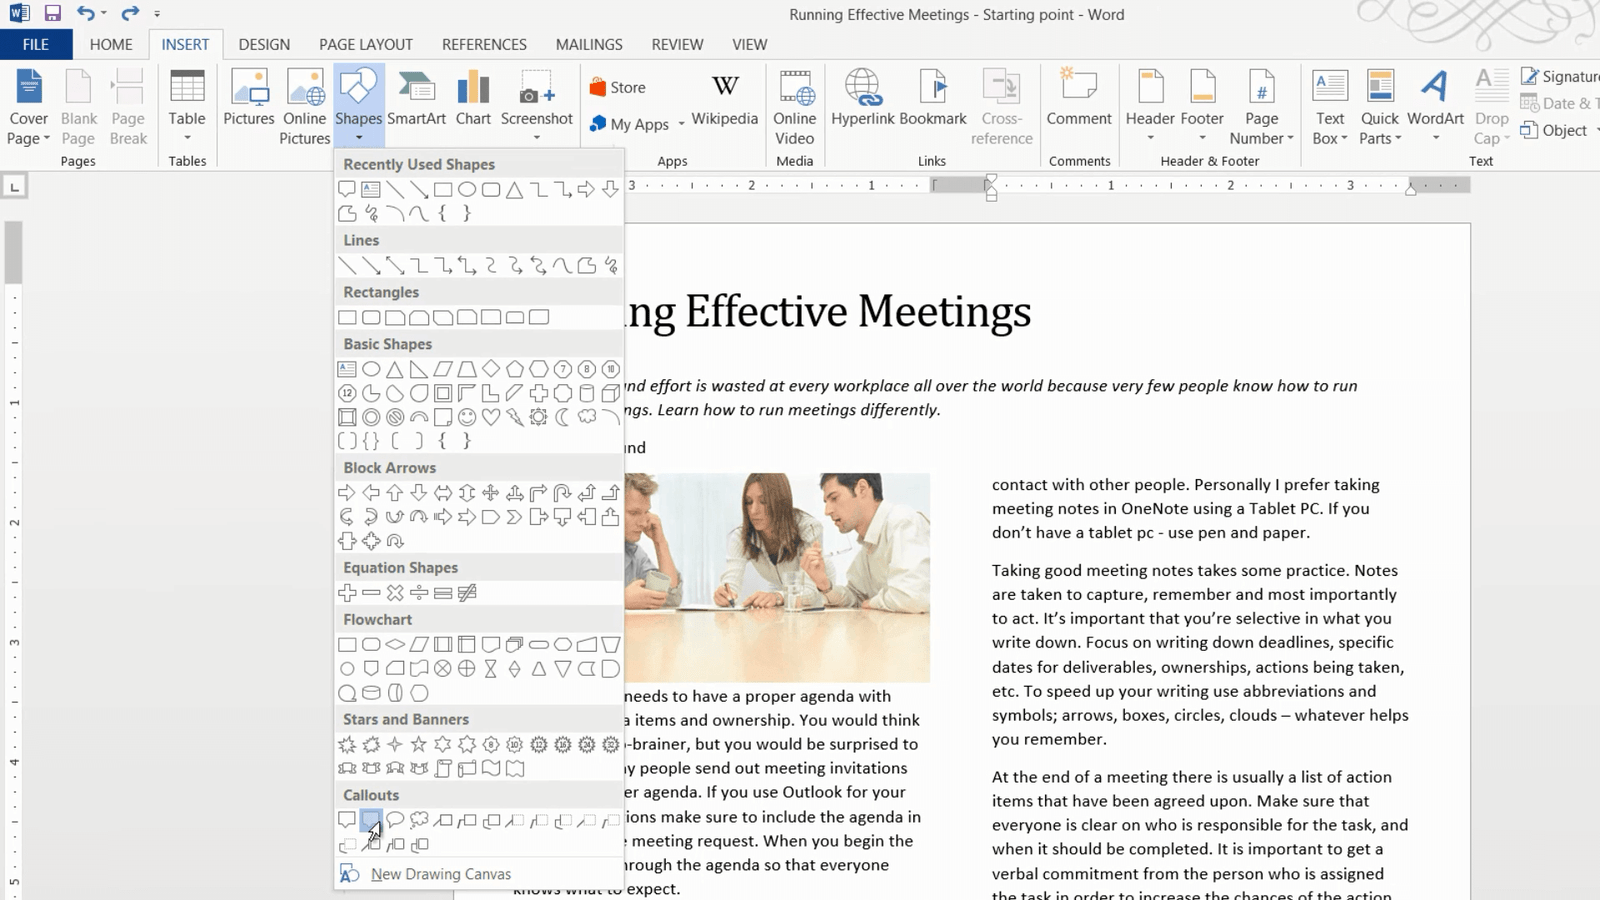
To capture my reader’s attention further I’ll insert two callout bubble shapes highlighting some of the text in the article. To insert a callout shape, click “INSERT”, “Shapes” and then select the one you want to insert.
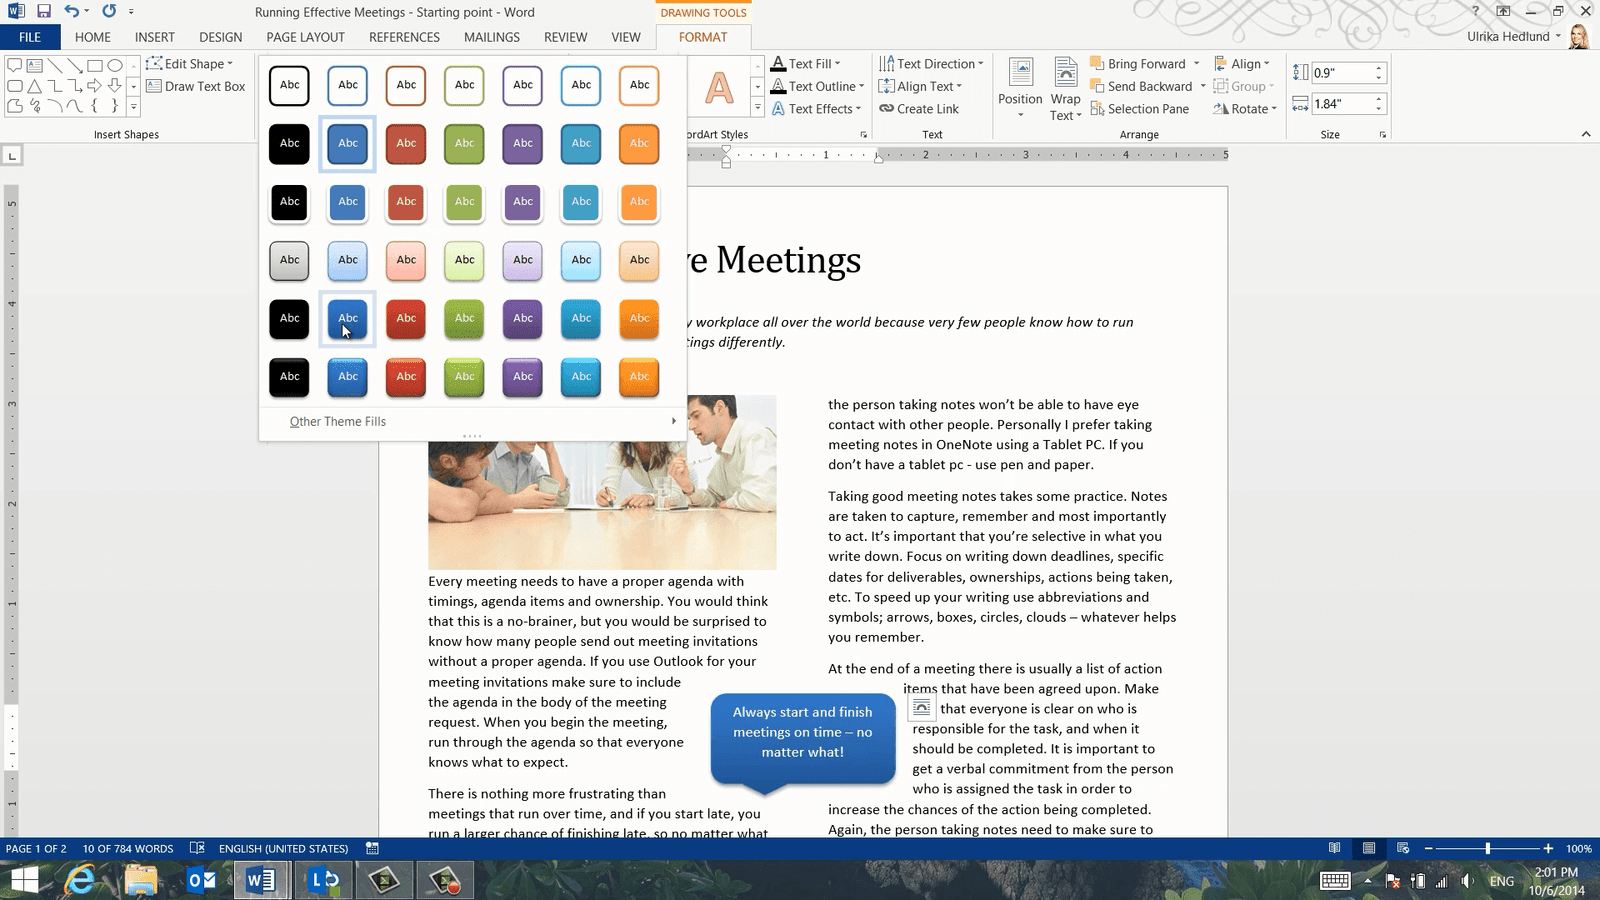
I’ll select this bubble callout and write my text in the bubble. I’ll click the “LAYOUT OPTIONS” button and select to position the shape wrapped with text with the square option. Now I can position the bubble exactly where I want it. I’ll click the “Shape Styles” to apply a nice design. I’m not thrilled about the color, but I’ll change that later.
To insert one more similar shape, I’ll just copy this by pressing CTRL C on my keyboard and then CTRL V to paste it in again. I’ll position the second one and change the text. There!
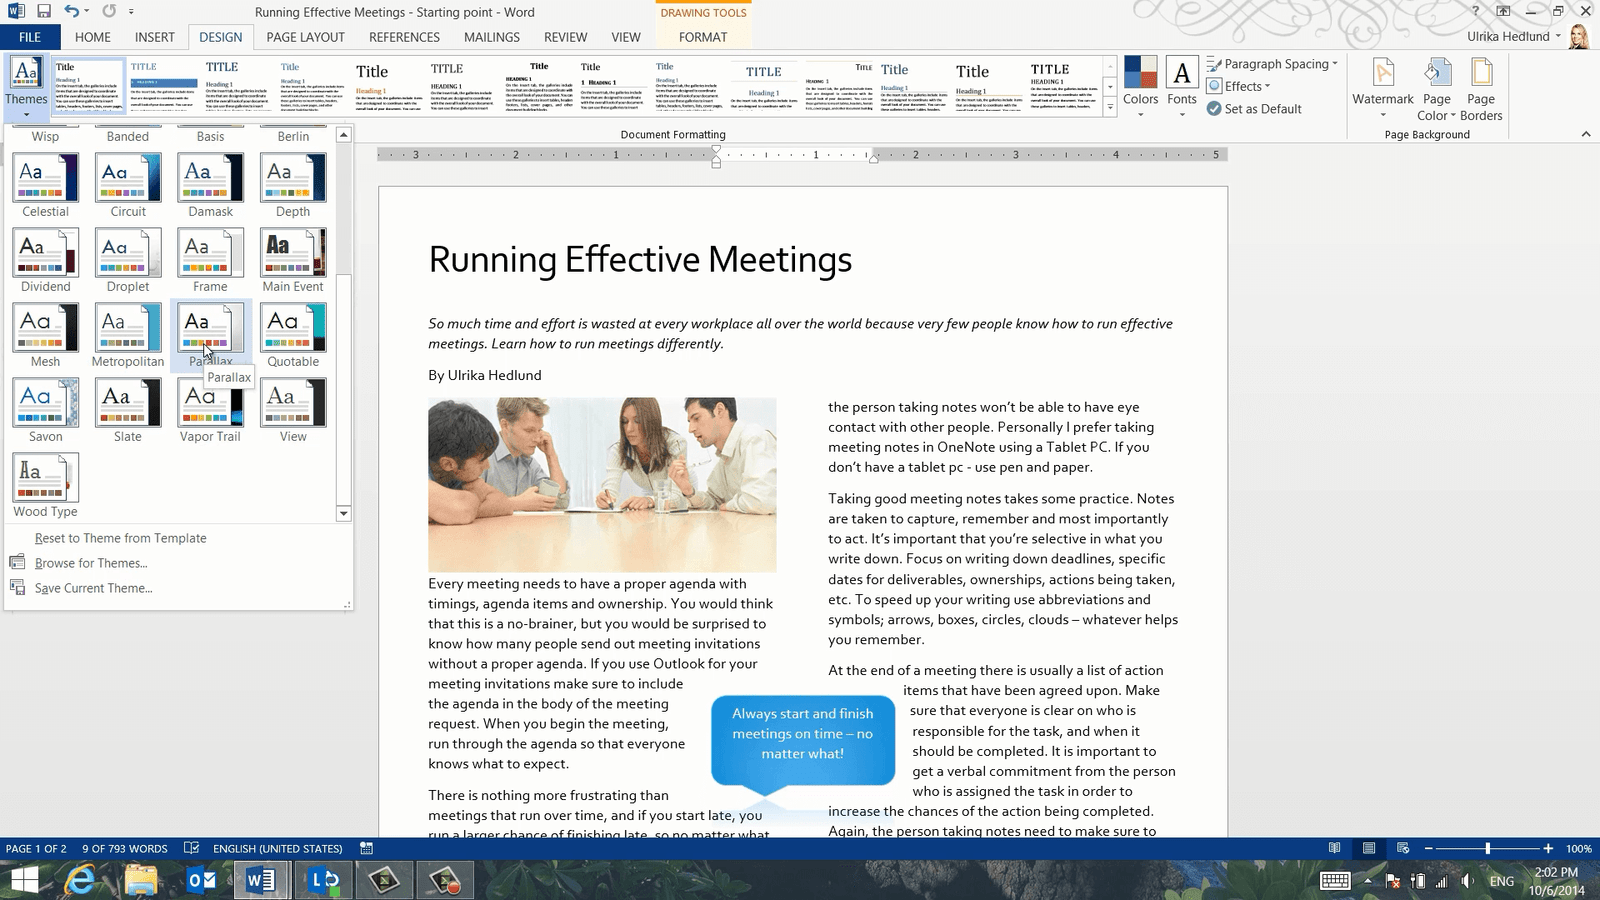
How to apply a theme in Word?
Now I want to change the look and feel of my article. I’ll click the “DESIGN” tab and then browse through one of the many themes in Word 2013. A theme is a collection of styles and color combinations. I will select this one called “Parallax”.
I’ll click the “Colors” drop down to select another color combination. I’ll select this green color theme. But I’d like to change the shading a bit. I’ll click “Colors” again and select “Customize Colors”.

I’d like to choose a dark green that goes well with the image of the article so I’ll change the first accent color to a dark green. I’ll save the custom color combination and name it, “Dark Green”.
Now I want to make some changes to the title. I’ll mark the title and change the font to “Adobe Hebrew”, I’ll increase the font size so that the title covers the full page width. Finally, I’ll change the color by selecting the “Dark Green” in the applied color theme. I’ll update the title style by right-clicking and select “Update Title to Match Selection”.
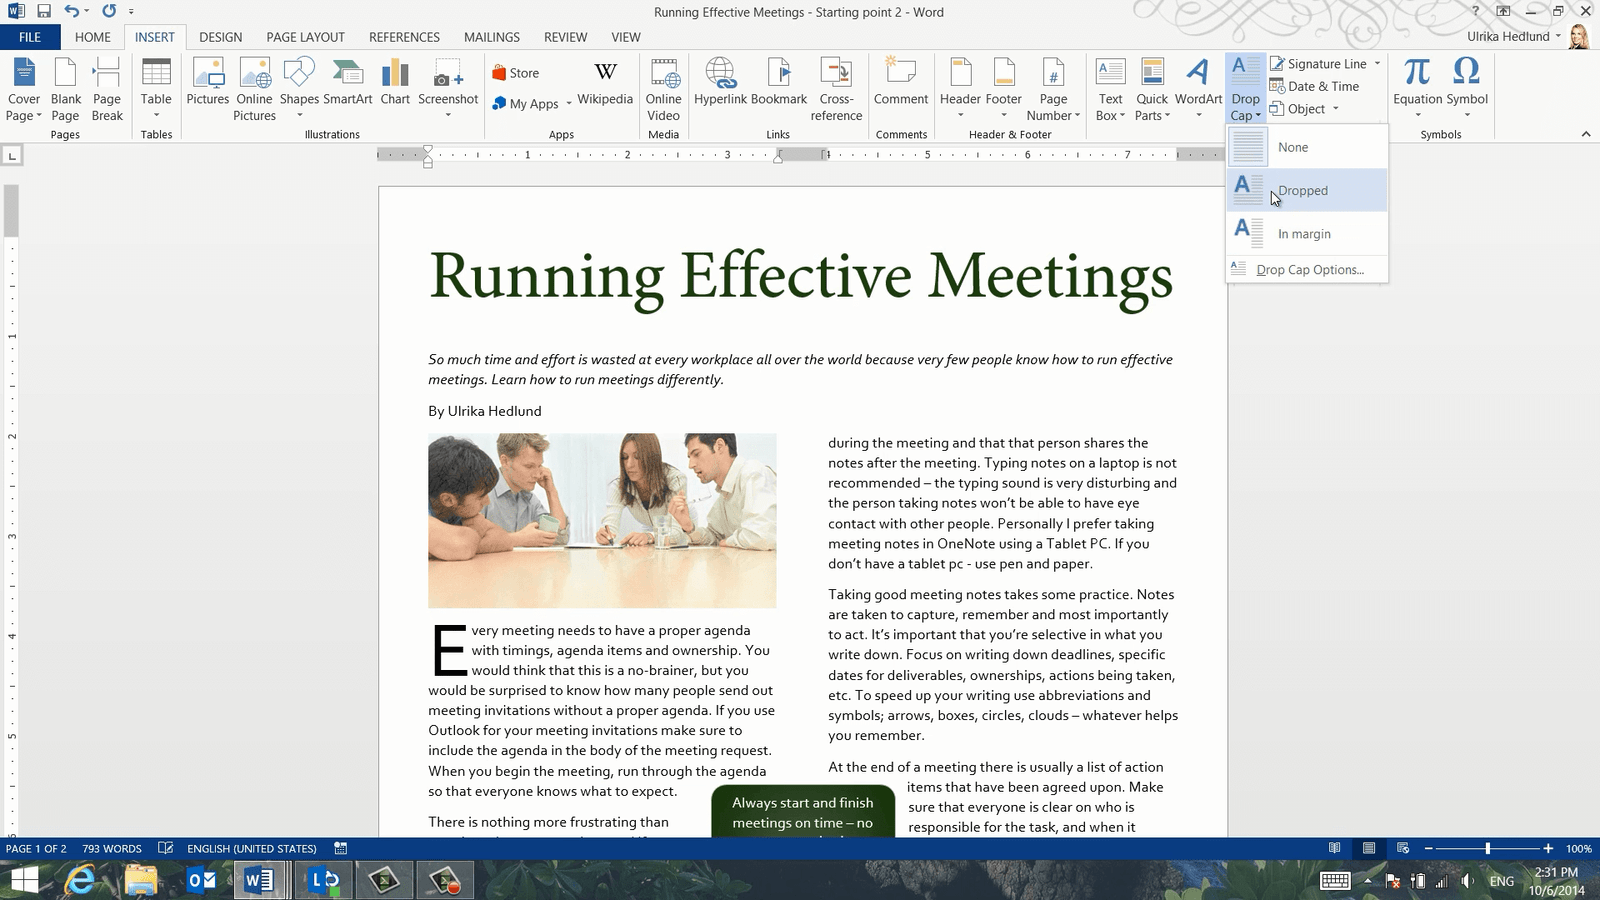
How to insert a Drop Cap in Word?
Now I want to highlight the beginning of the text by enlarging the first letter, by inserting a so-called Drop Cap. To insert a Drop Cap, place your cursor by the word where you want the Drop Cap inserted, click “INSERT” and then “Drop Cap”. Here you get a live preview so that you can select which layout option you prefer. I’ll select the one where the letter is dropped into the text.
To make it stand out even more I’ll mark the Drop Cap and change the font to “Adobe Hebrew”. I’ll also change the color and select a dark green in the color theme. There, now the beginning of the article stands out more.
How to distribute columns evenly in Word?
The final touch is to even out the text on the second page to balance the article. I’ll move the callout shape and position it at the top of the page. The marker is placed where I want to break the text to even it out. I will click the “PAGE LAYOUT” tab, “Breaks” and then select to insert a “Column” break.

The text is now split, evening out the article.
Closing
What I’ve shown you here are just a few examples of how the built-in tools in Word 2013 can help you create a really attractive article.
[…] Instructions in text form: http://howtoword.tv/videos/how-to-create-attractive-article/ […]
Nice artical superior quality ratings for your blog
30 Awesome Keyword Ranking Tools for SEO
[…] Right here is certainly one of our video tutorials on “How to Create an Attractive Article in Word 2013” […]
[…] Right here is one in all our video tutorials on “How to Create an Attractive Article in Word 2013” […]