
How to Create a Professional Letterhead in Word 2013?
Introduction
Any document that represents official correspondence from your company should be written on a document with a company letterhead. In this video, I will show you how you can use headers and footers in Word 2013 to create a clean, professional letterhead template. Even if your company already has a letterhead template that you should use, you will learn a lot of things in this video that might be useful in other situations.
Overview of different letterhead samples
I want to create a letterhead that looks like this with our logo added to the header and our contact details to the footer.

As you can see, the logo looks a bit faded, a bit washed out. But this is just Word’s way of showing you that this is part of the header. If we go to the print preview, you can see that the logotype will be printed in the full colors.
To create a new template I’ll just start from a blank page, by clicking “New” and then “Blank document”.
How to insert a logo in the header?
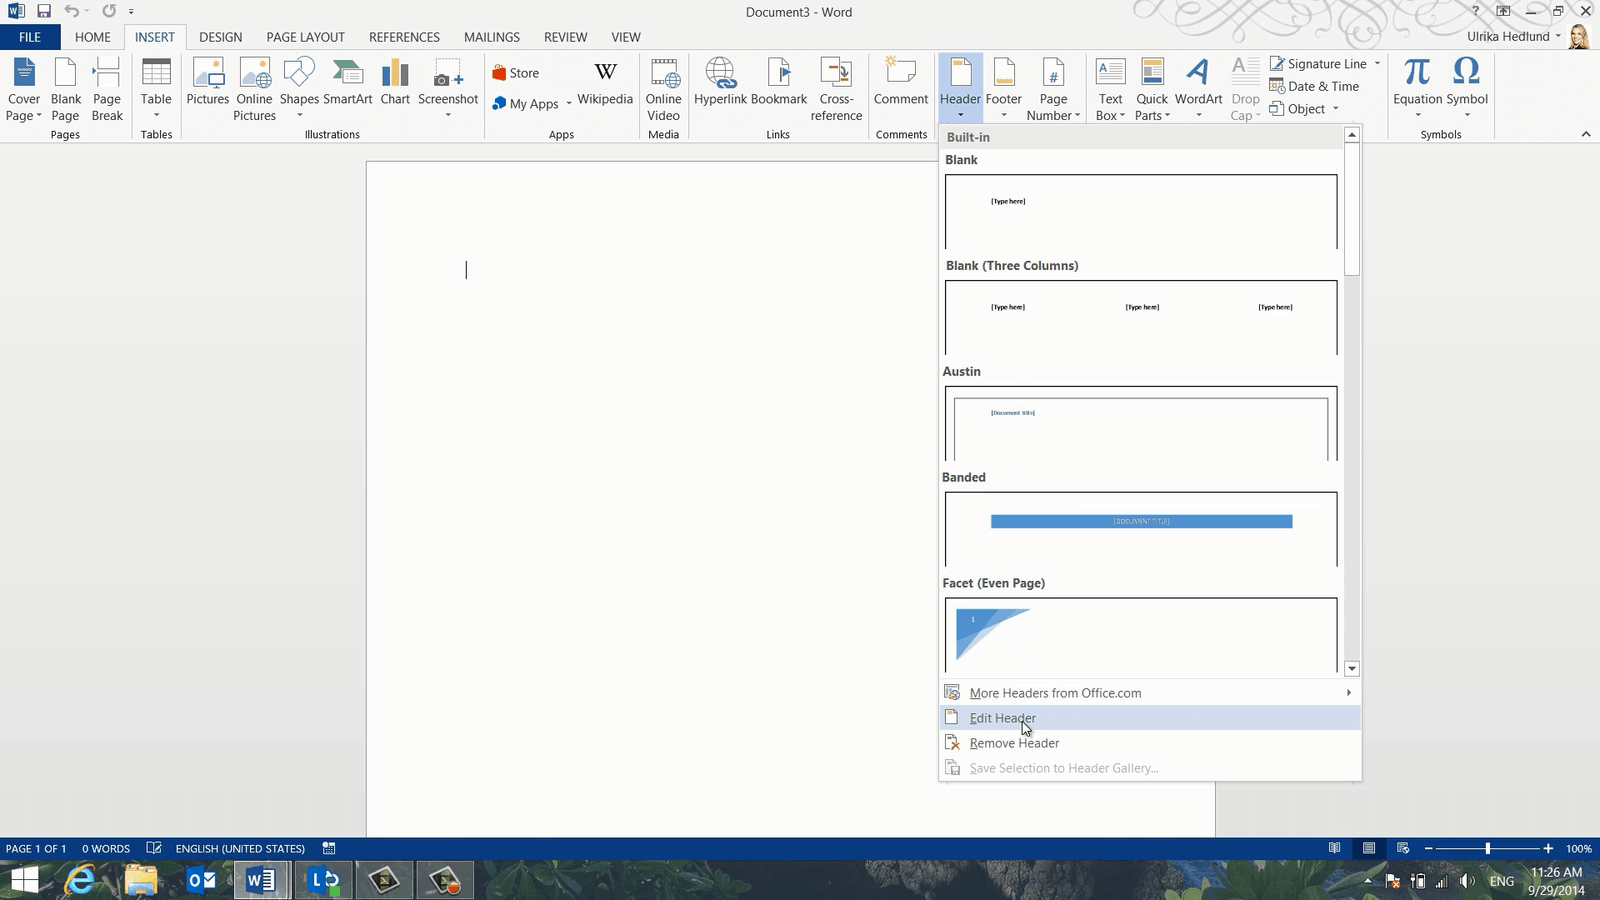
To insert your logo in the header, click the “INSERT” tab and then “Header”. Here you have a number of built-in designs that you can choose from. But since we’re only going to insert a logotype select “Edit Header”.
To insert the logotype click “Pictures”, select your image and then click “Insert”. A new button with layout options has been introduced in Word 2013 to help you position objects more easily. Click the Layout Options button and select “Behind text” or “In front of text”. This way you don’t have to worry about text or margin settings.

Resize the image by dragging the bottom right corner holding down your left mouse key. Now you can position the logo exactly where you want it.
To close the header go to the Header and Footer “DESIGN” tab and click “Close Header”, or just double-click out of the header area.
How to insert company details in the footer?
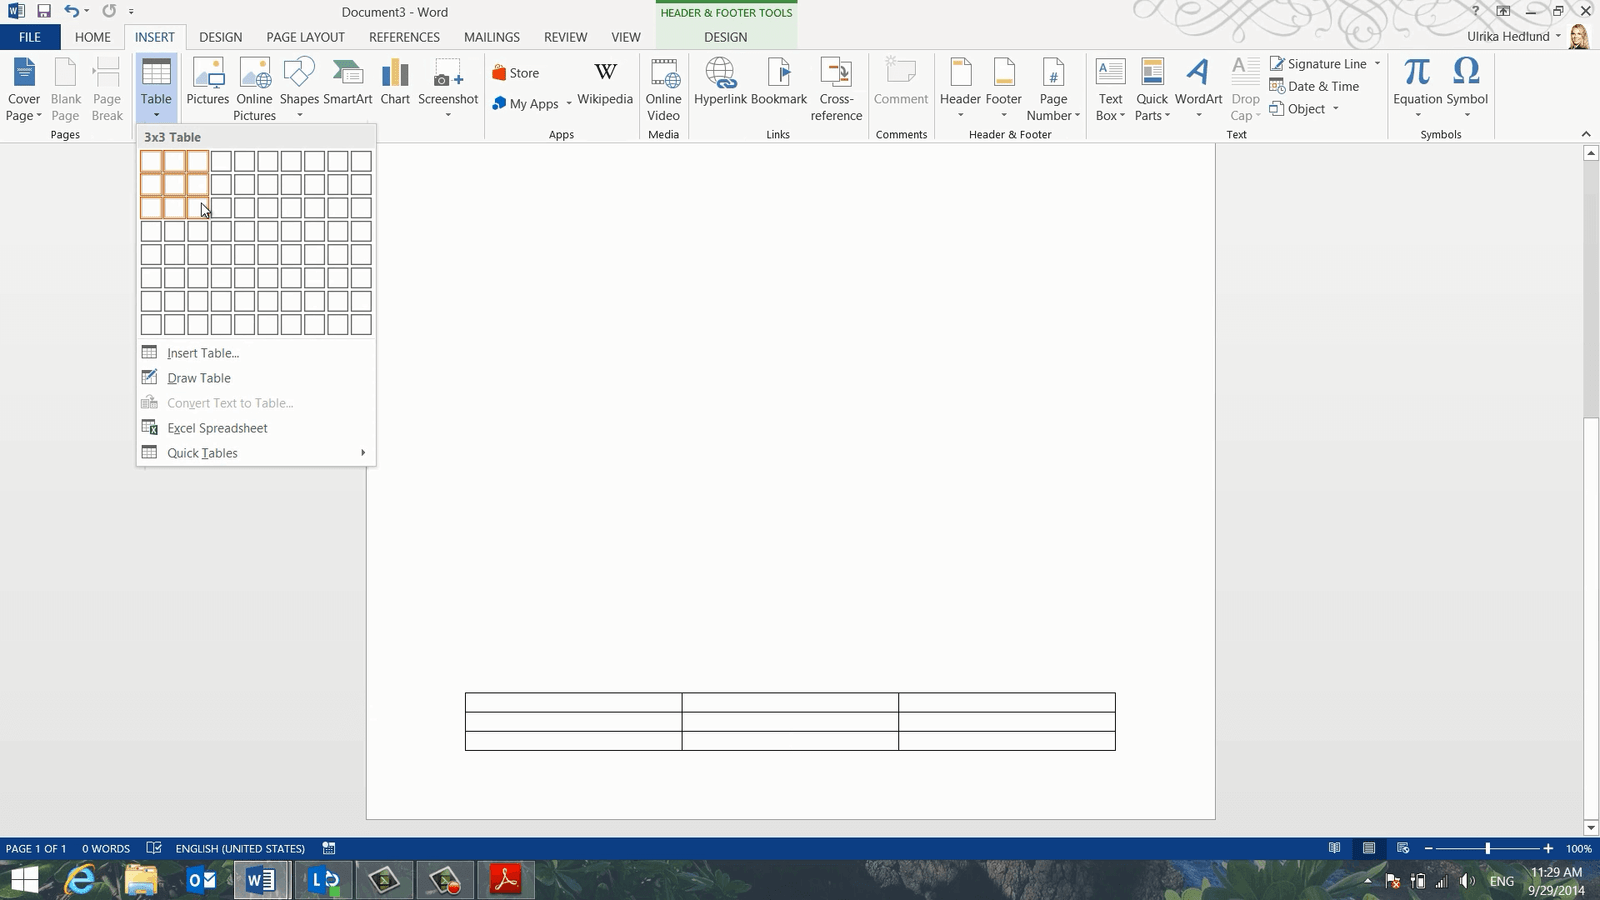
Now let’s insert our company details in the footer. To insert a footer click “INSERT” and select “Footer”. To create a custom footer click “Edit Footer”. To have more control over how the text is aligned I’ll insert the text into a table. To insert a table, click “INSERT” and then “Table”. Here I’ll select a 3 by 3 table.
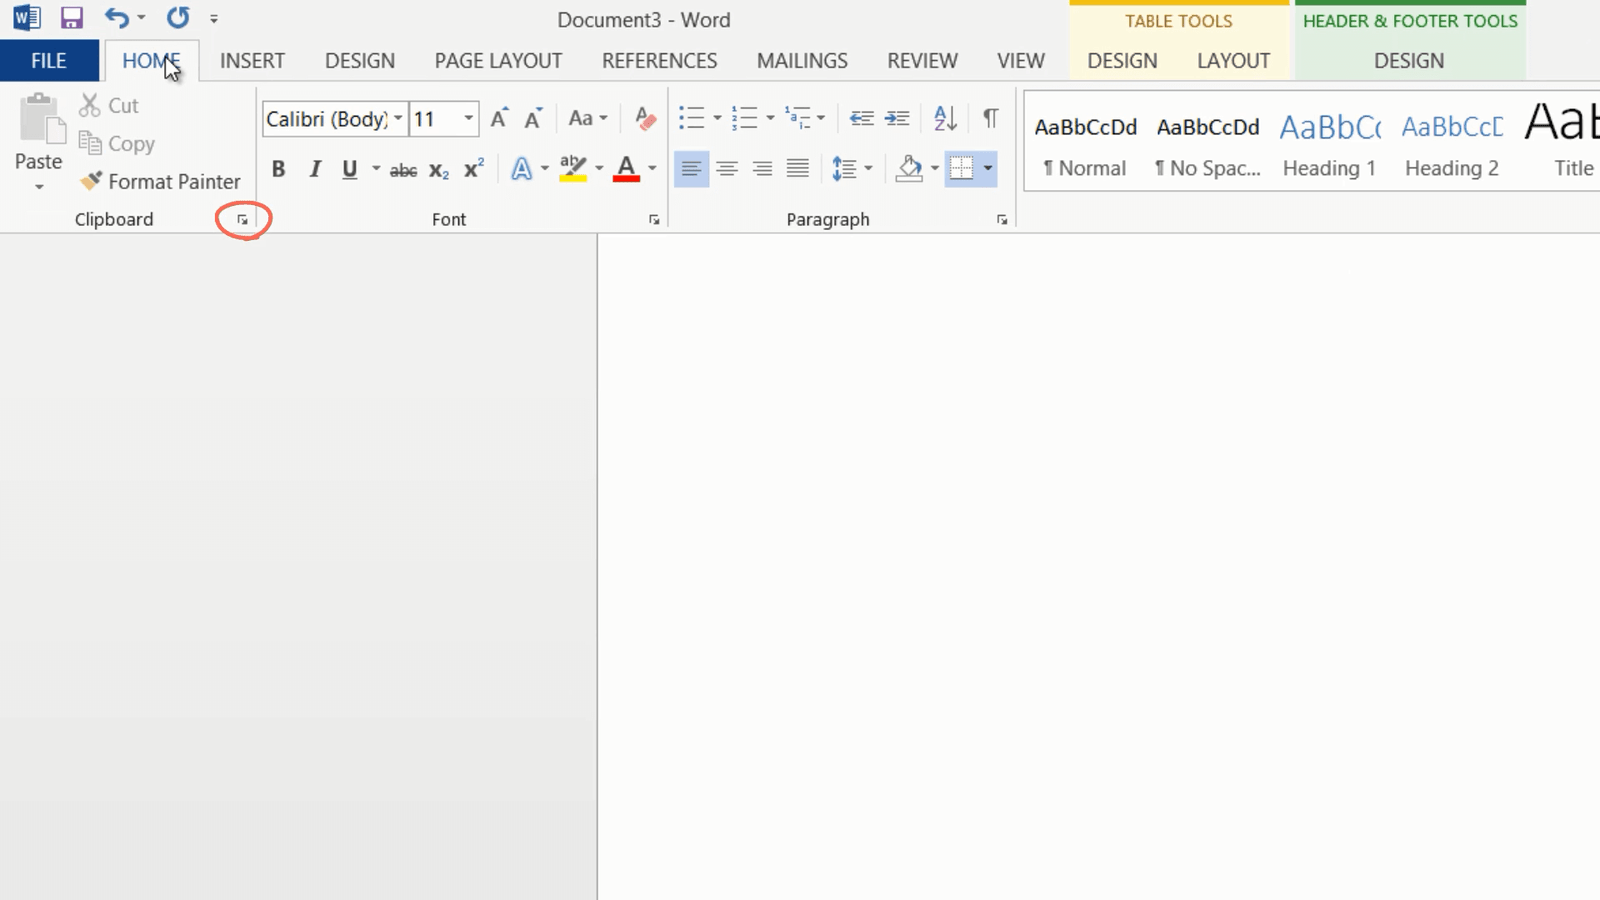
In the first cell, I’ll type in our company name. I already have all of our company details in one of our brochures, so instead of typing them by hand, I’ll just copy them from here. If you want to copy multiple objects the Clipboard is very useful. Go back to the “HOME” tab. To open up the Clipboard click the little arrow in the Clipboard section on the “HOME” tab.
Next, I’ll open up the pdf document from where I want to copy text. I’ll right-click the pdf document and select the Selection Tool. I’ll mark our email address and then I’ll press CTRL + C on my keyboard to copy it. As you can see a little pop up tells me that the clip has been saved to the Clipboard. I’ll continue to copy our web address, postal address, telephone numbers and finally the Facebook page. The Clipboard can hold up to 24 clips.
When I have all the information I need I’ll close down the brochure. I’ll position my marker where I want to insert the postal address and then I’ll just click on the clip in the Clipboard. I’ll continue to add all the clips from the Clipboard until I have populated the entire table.
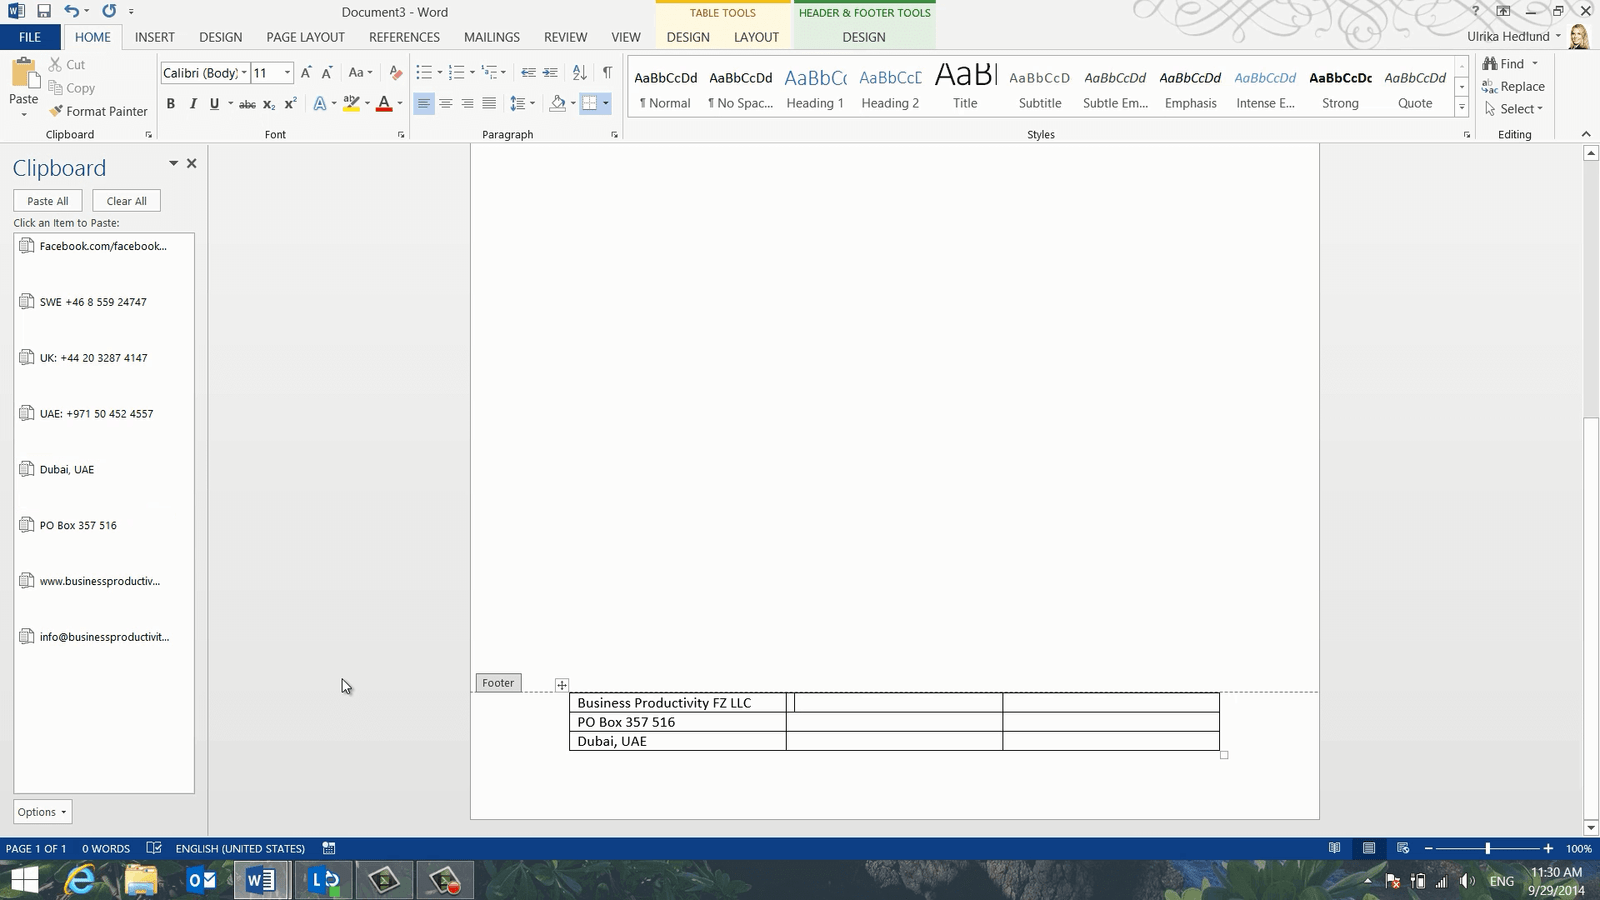
When I’m done I’ll clear the Clipboard by clicking “Clear All” and then I’ll close down the Clipboard.
I’ll mark the table and reduce the font size to 9 and change the color to a dark grey. I’ll move the entire table down by going to the Header and Footer “DESIGN” tab and reducing the “Footer from Bottom” distance to 0.1.

I’ll spread out the text by dragging the left side of the table further to the left and then I’ll do the same thing with the right side. I’ll mark the text in the last column, go to the “HOME” tab and change the text alignment to Right Alignment. Finally, I’ll just move the middle column a bit to even out the text.
I don’t want the lines of the table to be visible so I’ll mark the table, click Borders and then select “No Borders”. Finally, I want to insert a line to have a clear divider. To do that I’ll click the “INSERT” tab and then “Shapes”. Here I’ll select a line.

I’ll hold down the “Shift” key when I draw the line to make sure that it is perfectly horizontal. I’ll change the color of the line to a dark grey. Ok, let’s see what this looks like! I’ll double-click outside of the footer area to close it.
How to create reusable templates in Word?
I’ll click “FILE” and “Print” to see the Print Preview. This looks good so now I want to save it as a template.

To save it as a template I’ll click “Save As” and change the file type to “Word Template”. I’ll give the template a name, “Letterhead Template” and then click “Save”. The template is saved in the template folder.

Next time I want to create a document using this template I’ll click “FILE”, “New” and then “PERSONAL”. From here I can access my newly created template. If I want to have it on the first page I can just click the little pushpin and my template will be easily accessible on the start page.
How to change header and footer on certain pages?
From time to time you might want to modify how headers and footers are displayed. Here I have a document where I have used my newly created letterhead template. I’ll change the view so that you can see multiple pages.

I don’t want the cover page to have the header and footer, but if I open up the header and footer on the first page and try to delete the logo, it will be removed from all pages.
To remove the header and footer from the first page, but keep it on the remaining pages in your document, open up the header or footer and on the “DESIGN” tab in the “Options” section mark the option to have a “Different First Page”.
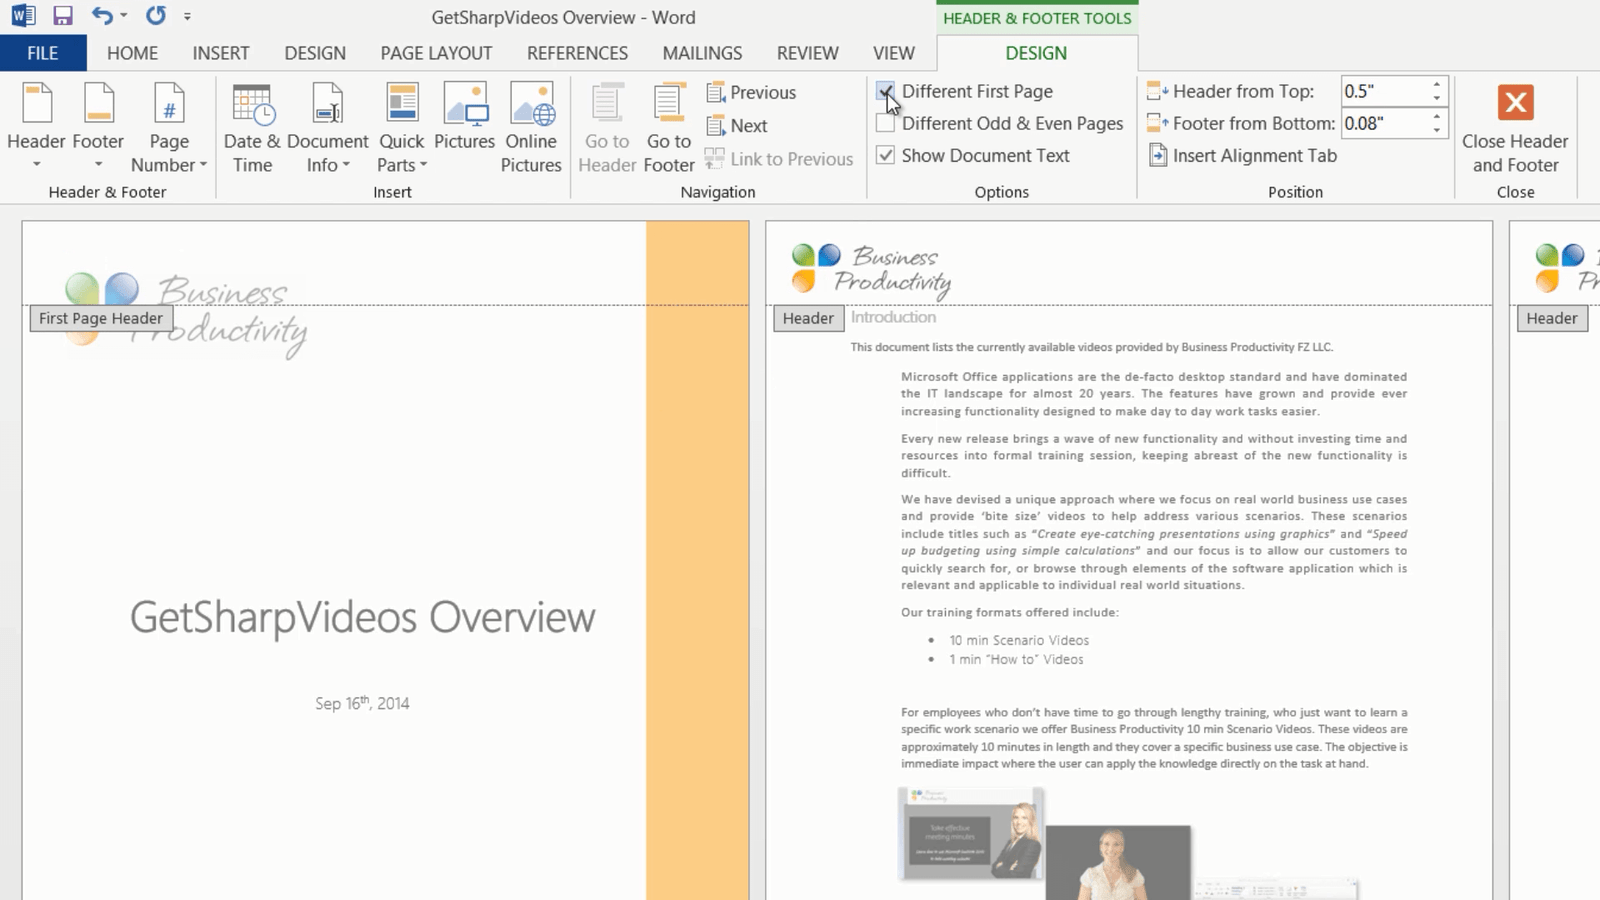
The contents of the Footer and Header are removed from the first page. As you can see a unique header called “First Page Header” and a unique footer called “First Page Footer” is created where you can add pictures or text. For here I’ll just leave them empty.
Changing header and footer on certain pages
Let me open up another document. Here I want to have our company header and footer on the first page, but I want the following pages of the document to have a different header and footer. To insert a header and footer that are different from those on the first page, place your marker on the page where you want the new header and footer to begin and go to the “PAGE LAYOUT” tab. Under “Breaks” click “Continuous” section break.

Now click on the header on the second page. It says “Header – Section 2 –“. In the “Navigation” area on the “DESIGN” tab click “Link to Previous” to unlink the header from the one in the previous section.
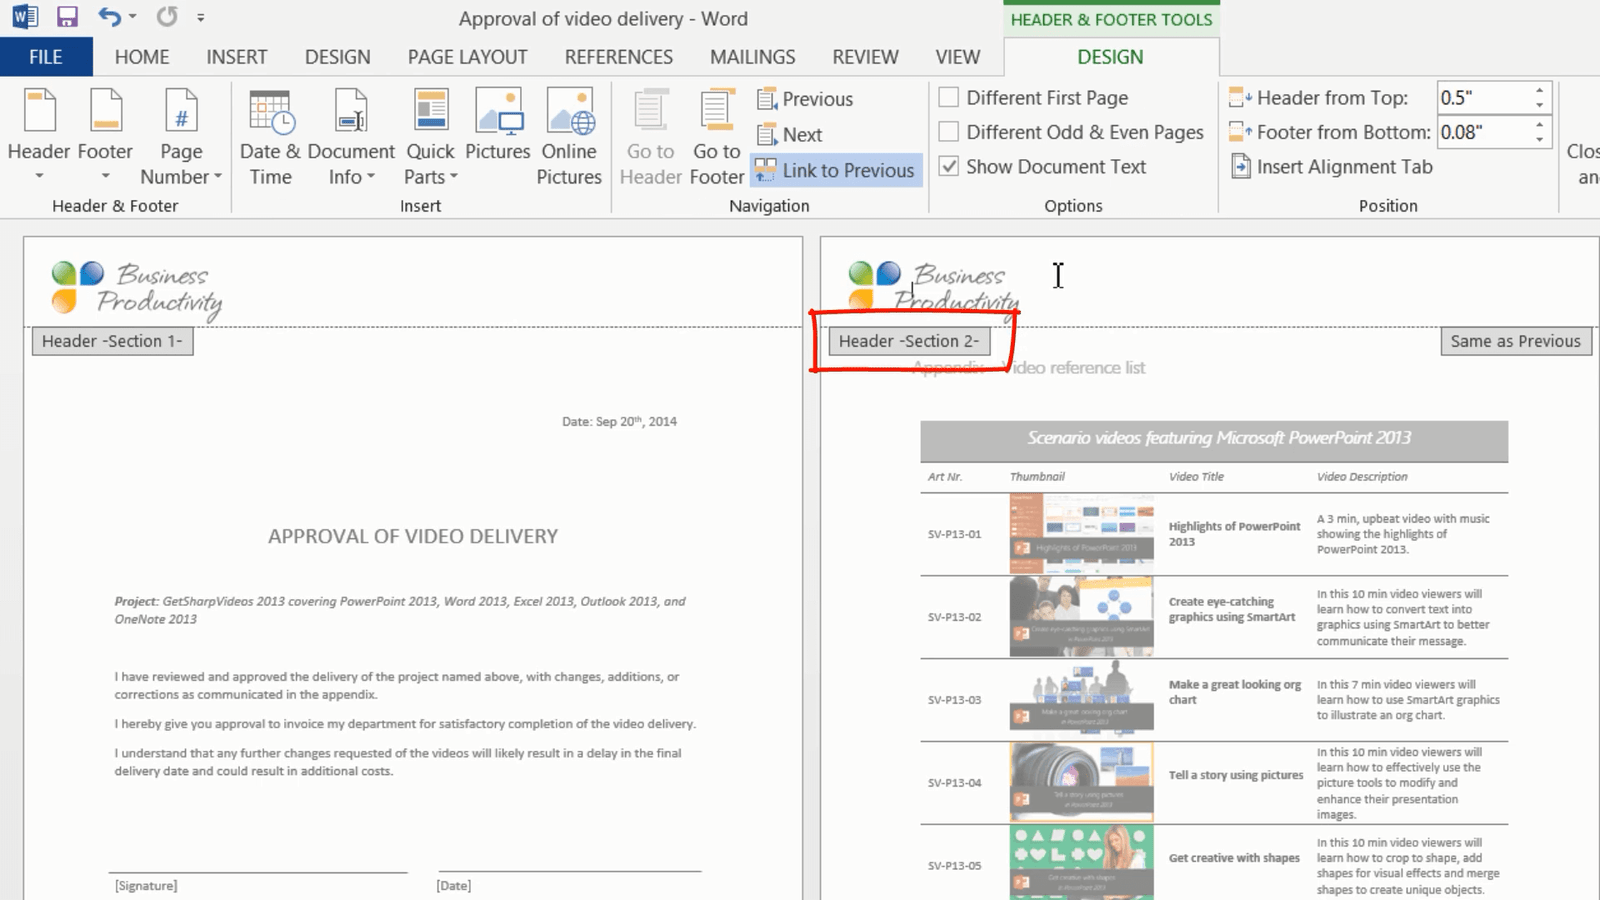
Now you can delete the logotype but only in the header in section 2, the header in section 1 is still intact. Here I’ll insert a different version of our logo.
I’ll click “Pictures” and select this logo flower image. Under the “LAYOUT OPTIONS” I’ll select “In front of the text” and then I’ll resize the image and position it in the top left corner. To change the footer, mark the footer and click “Link to Previous” to unlink the footer. I’ll mark the table with our company contact details right-click and select cut, then I’ll delete the line divider. I’ll click “Page Number” and select one of the predefined formats.

I’ll close down the footer, and as you can see you now have different headers and footers in the same document.

By mastering headers and footers you’ll be able to create a wide range of professional looking documents.
[…] Instructions in text form: http://howtoword.tv/videos/how-to-create-letterhead-word/ […]