
How to Create a Professional Report in Word 2013?
Introduction
If writing a report is not something you do every day, it might be a bit daunting. How should you structure it? What should be included? There are some basics you should be aware of when it comes to creating a professional report. This includes adding a table of contents to your report, adding page numbers and properly referencing all of your sources. Let me show you how to do this effectively in Word 2013.
Introduction to the report
Here is a report that a colleague of mine has written. Even though it looks ok, he hasn’t used Word effectively. He has just applied formatting to the headings, without using any heading styles. Because of this Word has no idea about the structure of this document and it’s very hard to navigate. If I go to the “VIEW” tab and open up the “Navigation Pane” you will see that it is completely empty.

If I go to the “REFERENCES” tab and try to insert a table of contents, I get a message informing me that styles need to be applied, otherwise no entries for the table of contents can be found. I’ll click Undo to remove the table of contents holder.
How to apply heading styles in Word 2013?
The first thing I’ll do is to add heading styles to the document. To add heading styles, mark the heading you want to apply the style to, I’ll start with the title. On the “HOME” tab, right-click the style you want to apply and select “Update Title to Match Selection”.

This way the title keeps the current formatting. Next, go to the first level heading. Here I’ll mark the heading by clicking in the margin next to the heading. Instead of marking all of the headings one by one manually, click “Select” – “Select Text with Similar Formatting”. All text that has the same formatting has now been selected. Now you can apply the “Heading 1” style. To keep the look and feel of the orange formatted headings, right-click and choose “Update Heading 1 to Match Selection”. Now you can see that all the first level headings are visible in the navigation pane, making it easier to navigate.

I’ll continue to add styles to the rest of the headings. I’ll scroll down and mark the bolded text, choose “Select Text with Similar Formatting”, right-click “Heading 2” and choose “Update Heading 2 to Match Selection”. I’ll do the same thing for the third and final heading. As you can see, as I add the heading styles the hierarchy in the navigation pane grows. I’ll click the arrow to go to the top of the document.

How to insert footnotes with references in Word 2013?
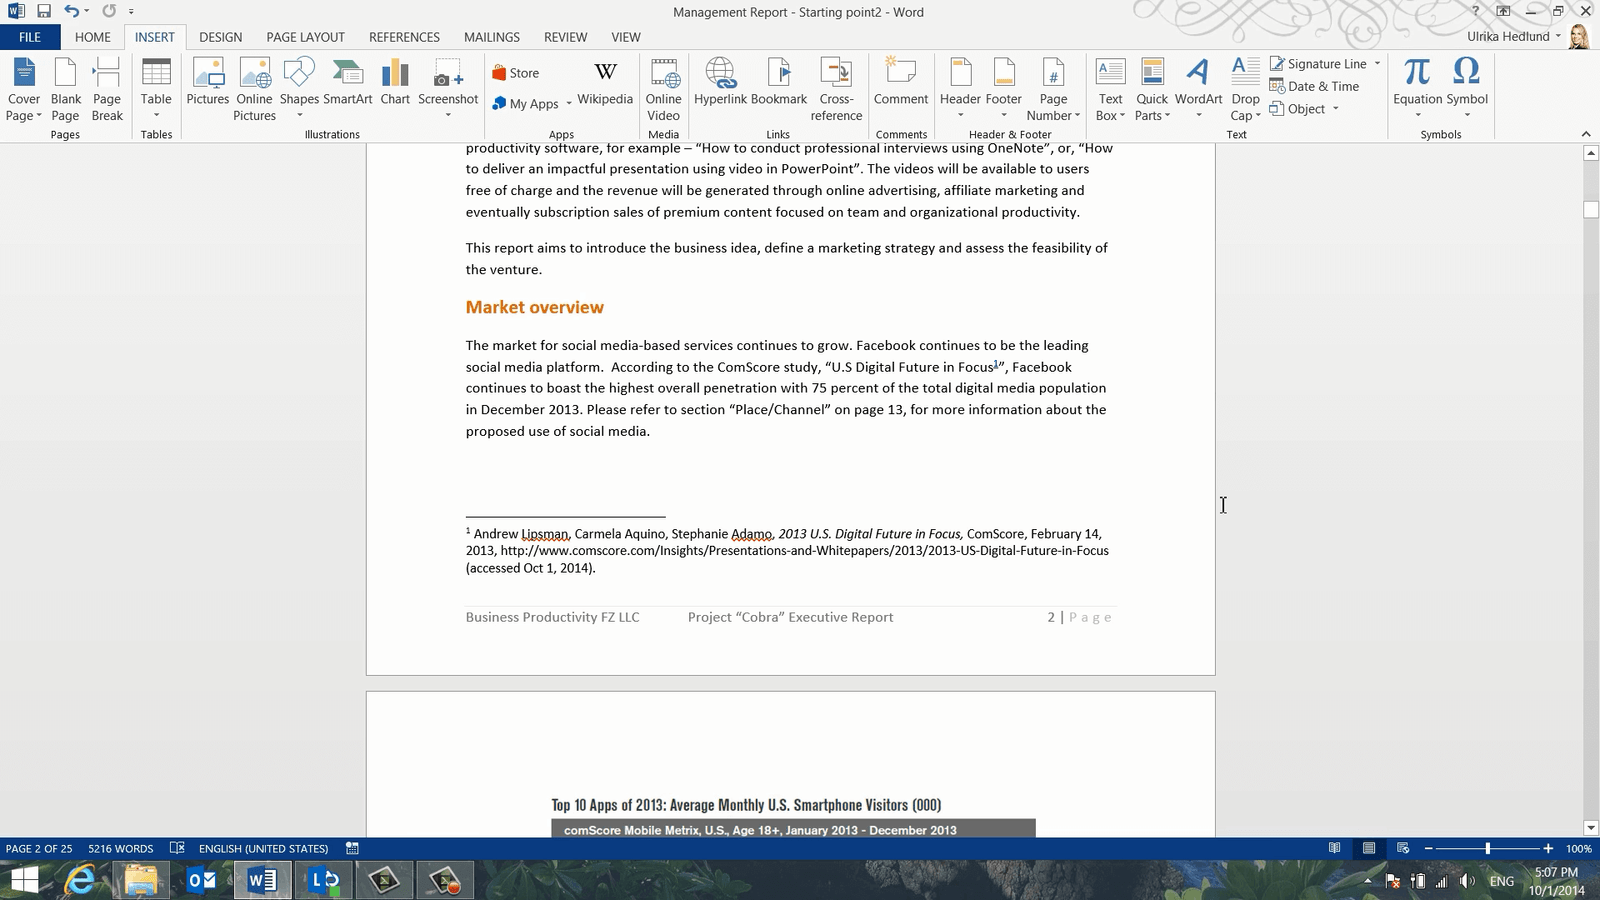
Using the Navigation Pane I can easily navigate my document. In this paragraph, I can see that my colleague has included information from a report. The website has been added as a hyperlink. It’s good that he has linked to the source, but in a professional report, you ought to insert source references as footnotes so that more information can be shown and the source more easily verified. To see more information about the source I’ll open up the hyperlink by pressing the CTRL key on my keyboard and then clicking the link.
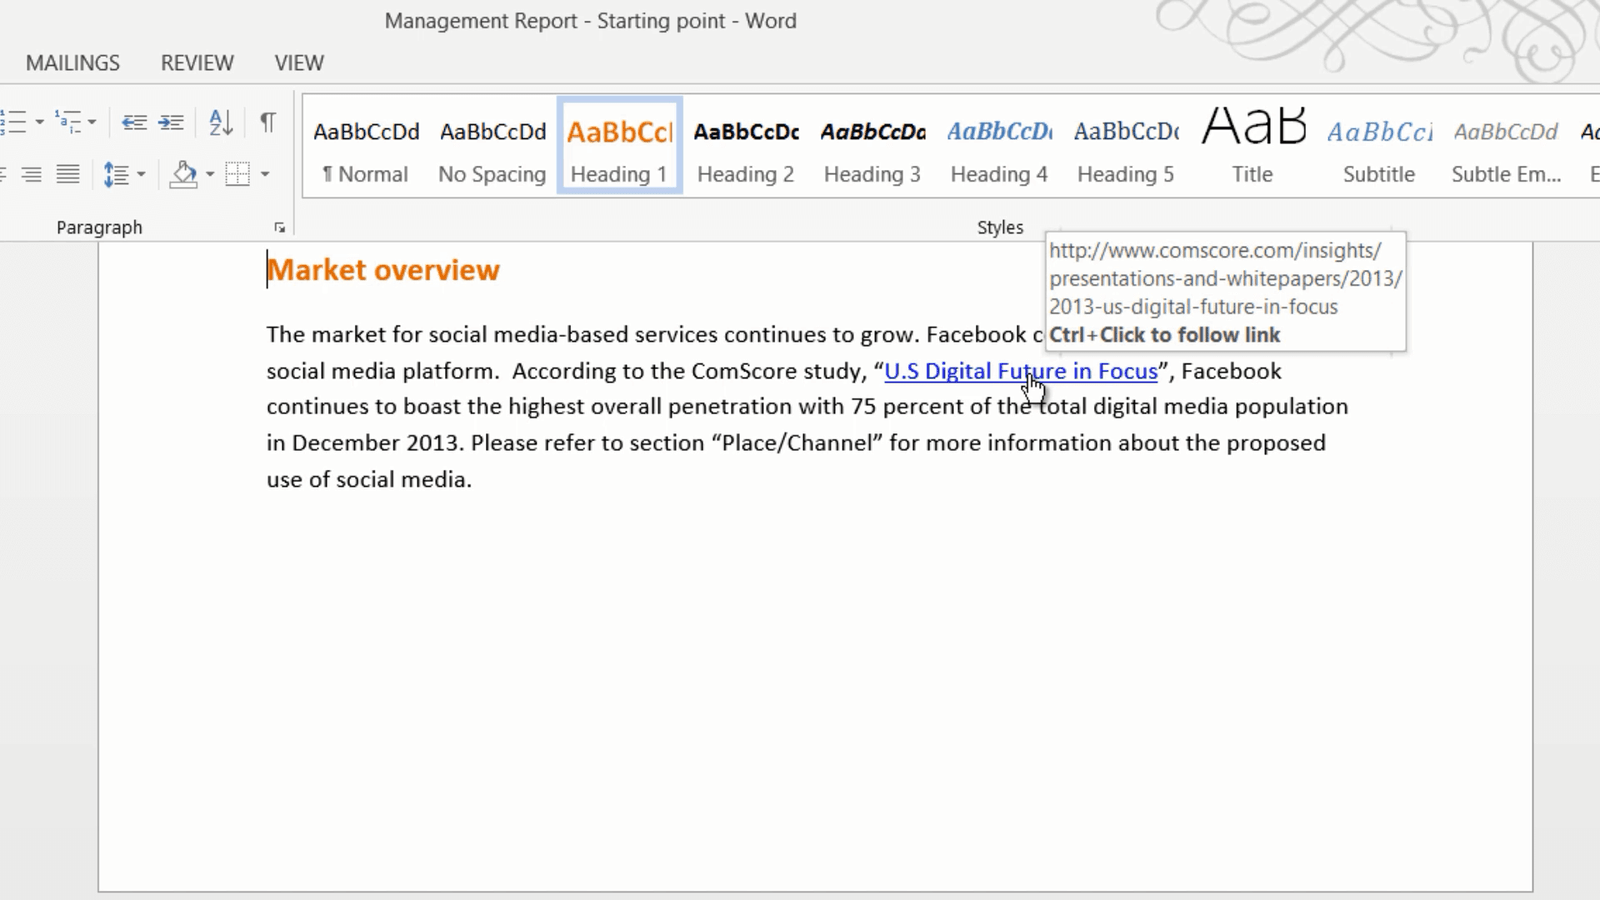
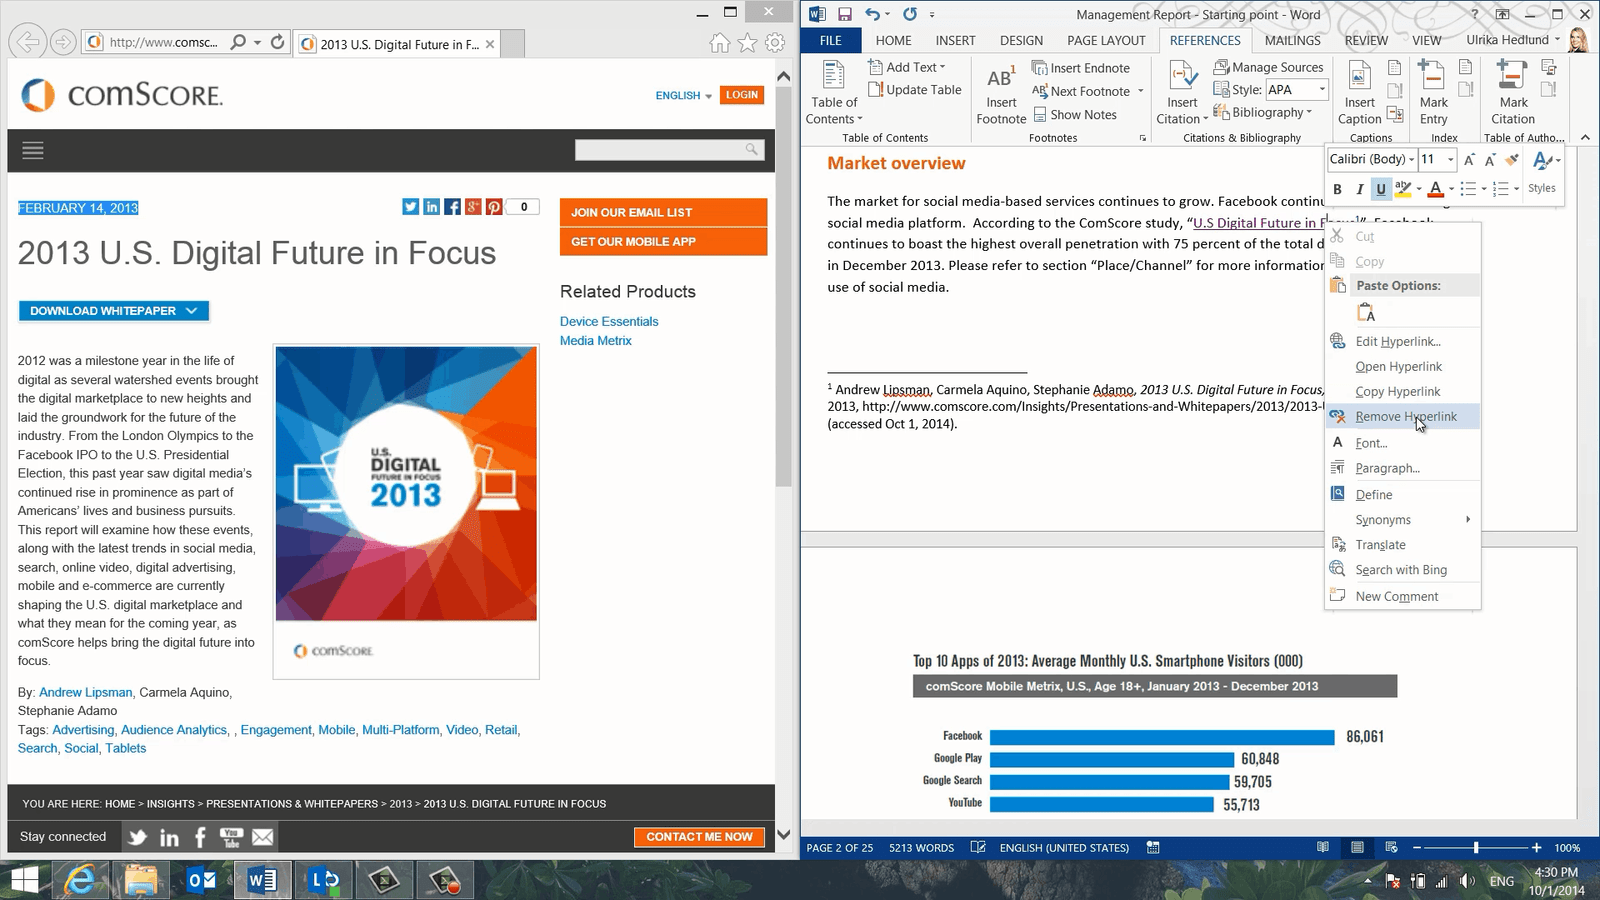
I’ll position the web page to the left on my screen by pressing Windows key arrow left and then I’ll click my document and then press Windows key arrow right. Now I can see the two windows side by side. This works if you are using Windows 7 or later. To insert a footnote, place the mouse cursor after the word or title you want to add the footnote to. Go to the “REFERENCES” tab and click “Insert Footnote”.

Now you can write the proper source reference in the footnote. Start with the author, in this case, there are three. I’ll copy the authors by marking them and pressing the keyboard shortcut CTRL + C. Place your marker by the footnote, right-click and select “Paste”, “Keep Text Only”, then add a comma. Next, copy the name of the article and copy and paste in the same way. Make the title italic by marking it and selecting italic in the floating bar, or press the keyboard shortcut CTRL+ I. I’ll add the name of the publication company, the date and then finally the web address. Since the Internet changes all the time, it’s recommended that you include the date you accessed the web page in parenthesis at the end. Finally, I’ll remove the hyperlink from the text by right-clicking and select “Remove Hyperlink”.
How to create cross-references in Word 2013?
In the next sentence, I can see that my colleague has added a reference to a paragraph later in the document called Place/Channel. To reference a section in a document properly, mark the name where you want the reference added, on the “REFERENCES” tab click “Cross-reference”. In the “Reference type” drop-down, select what it is you want to refer to and in this case, it is a heading. In the “Insert reference to” select what information you want to add to your document. Select the heading name and click “Insert”.

The name of the heading is now inserted as a cross-reference so that if you change the name of your heading in the document, the name will be updated here as well. You also have a hyperlink embedded in the reference so that the reader can easily go to that section. In order to help readers that read the report on paper, it’s good to add the page number as well. Add the text, “on page” and then click “Cross-reference” again, change the “Insert reference to” to the page number. Again, select the heading you want to refer to.

Now the page number is added to the reference.
How to add page numbers in Word 2013?
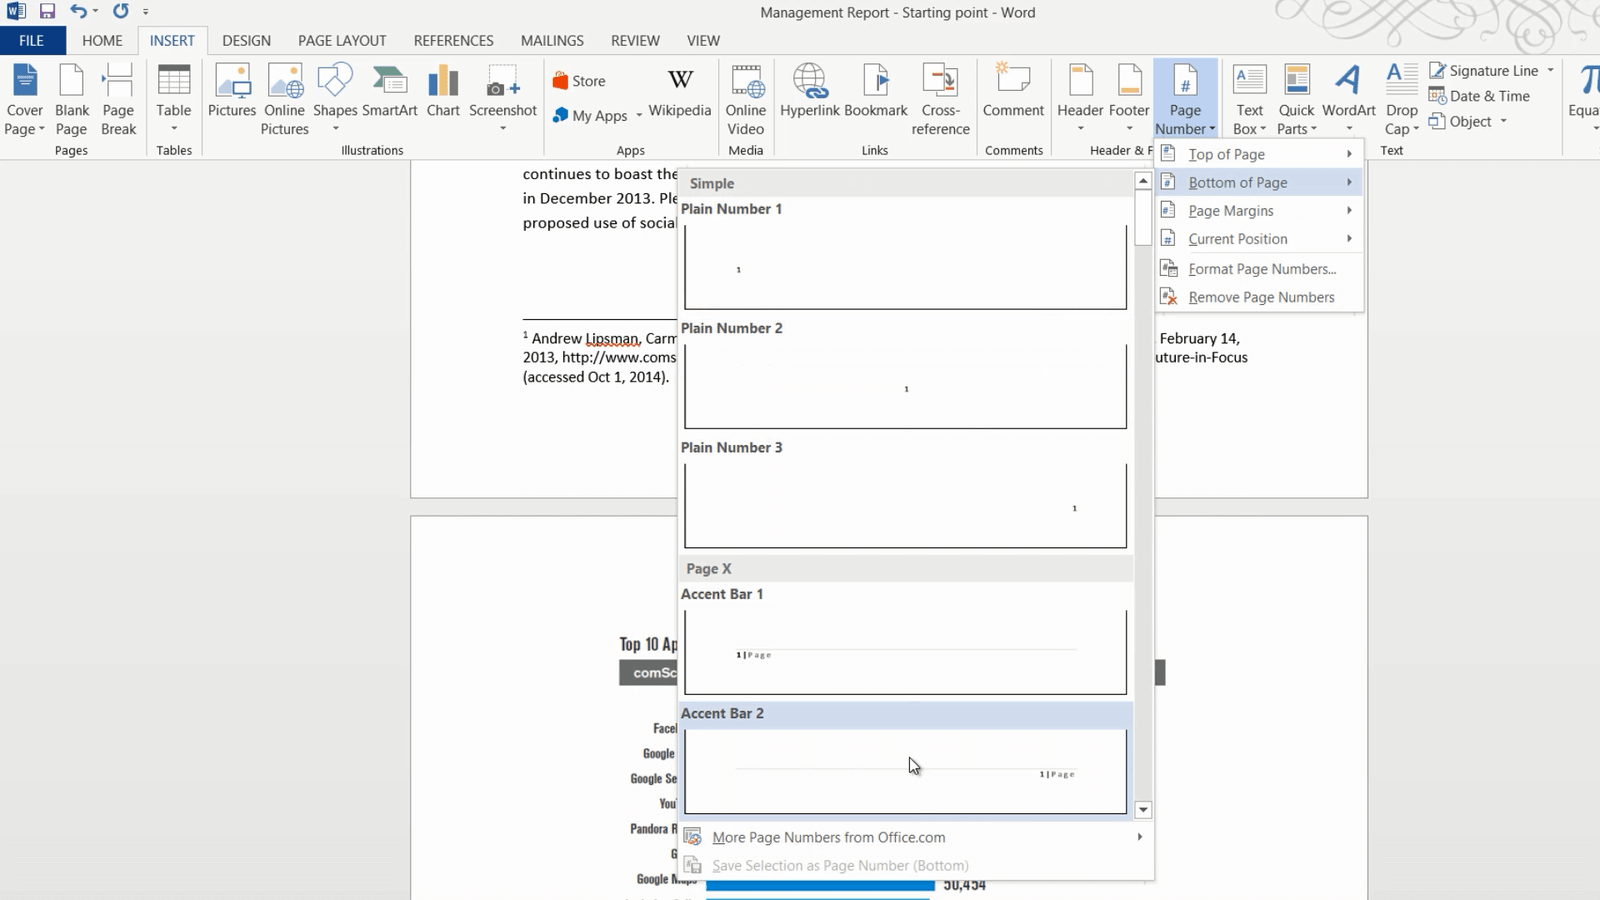
Now that we’ve added page numbers in the cross-reference I better add them to the report as well. The easiest way to add page numbers to your document is simply to go to the “INSERT” tab and in the “Header & Footer” section select “Page Number”. Here you can select a nice position and formatting for your page numbers. I’ll select to put the page number at the bottom of the page and I’ll select a design with an accent bar and the page number in the right-hand corner.
How to add document properties to the footer in Word?
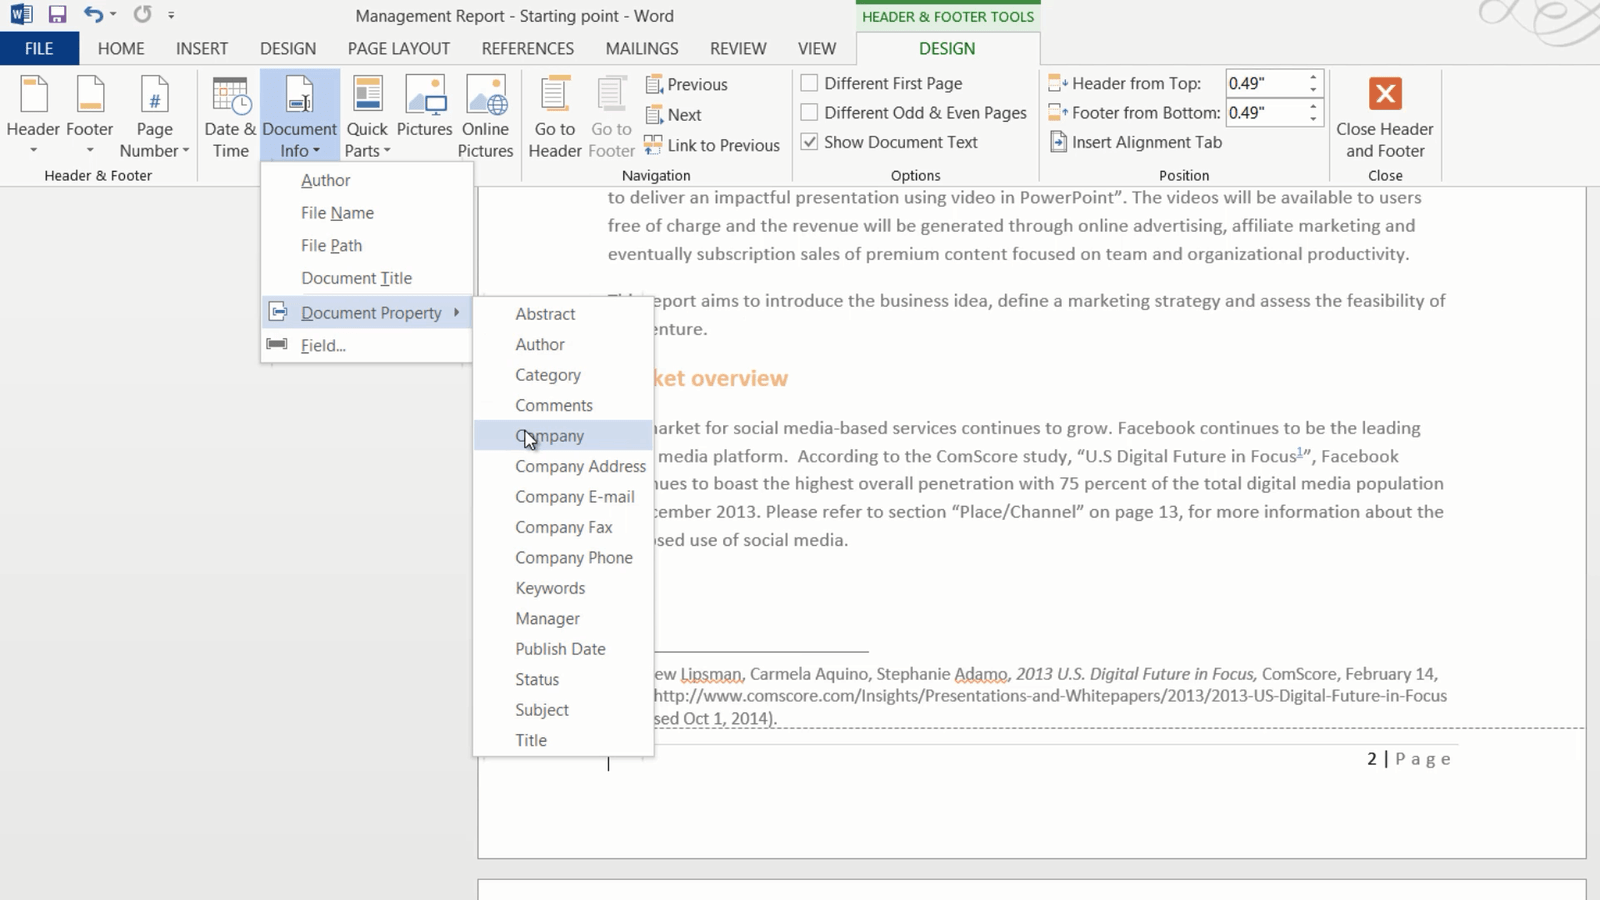
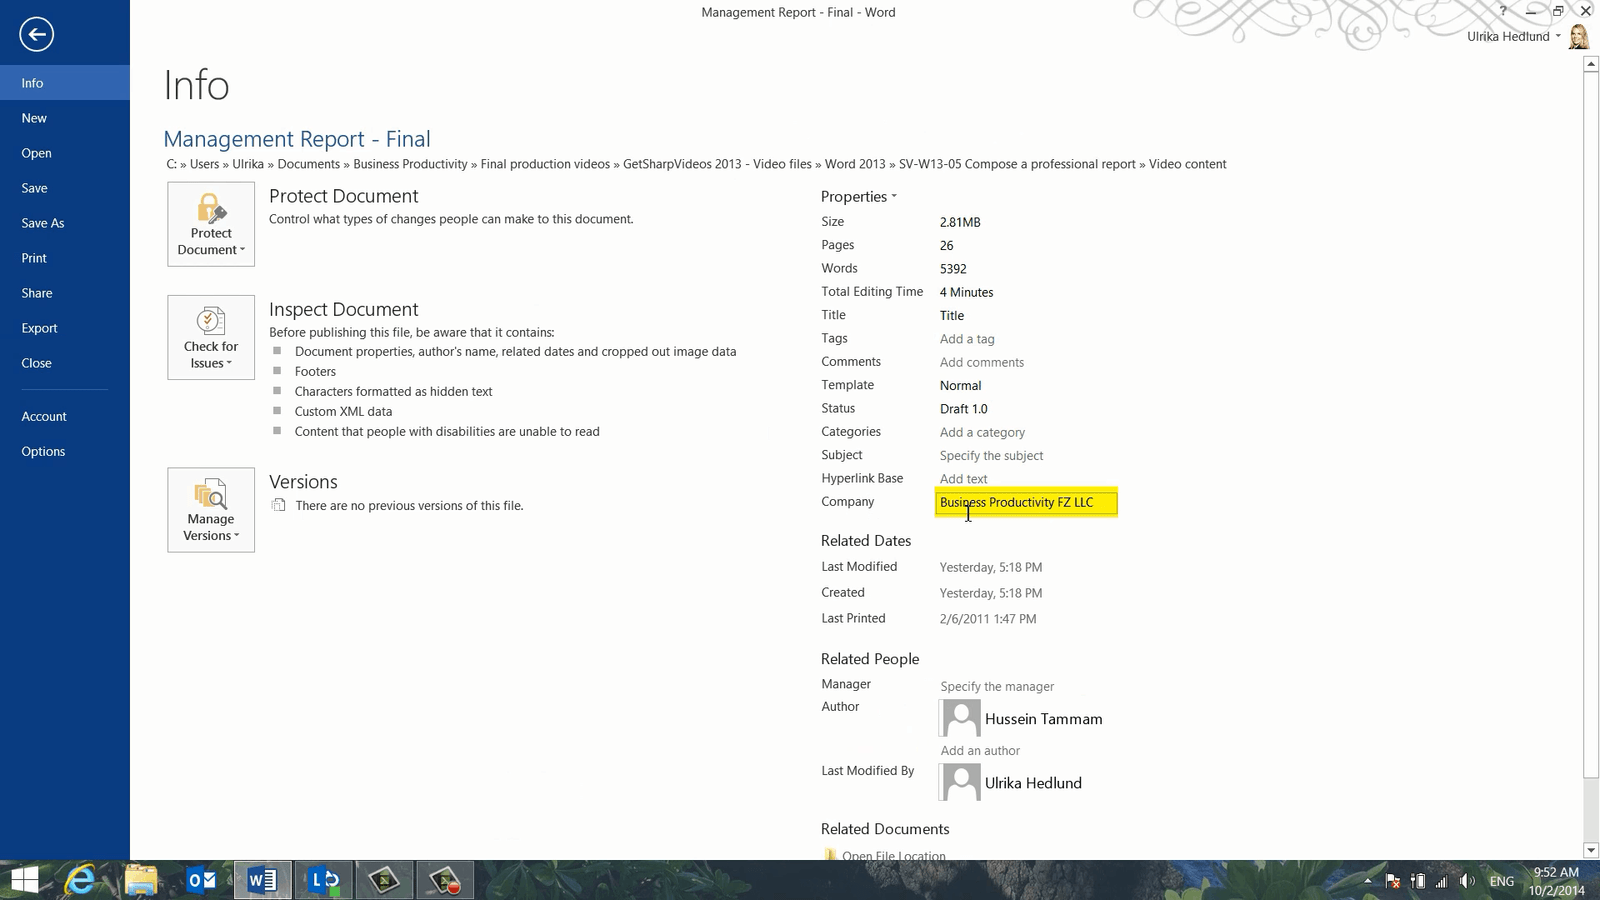
Now I’d like to add some document information to the footer. First I’ll open up the footer by just double-clicking it. Instead of just writing the name of our company I’ll use a document field, that way our company name is added to the properties of the document. To insert a document field click “Document Info” and then “Document Property”. Here I’ll select “Company”.
I’ll type in the name of our company, Business Productivity FZ LLC. If you click the “FILE” menu and expand the Document Properties you can see that our company name has been added to the document information.
Next, I want to insert the title of the document. I’ll click “Document Info” and then “Document Title”. As you can see, it doesn’t actually contain the title of the report. Instead of typing in the title here I want to link it to the title on the first page of the report to make sure it gets updated if someone changes the report title. I’ll mark the title, right-click and select “Copy”. Next, I’ll click “INSERT”, “Quick Parts”, “Document Property” and then I’ll select the “Title” property.

I’ll mark the text in the field holder, right-click and paste in the title again. As you can see if I scroll down, the document title field in the footer has been automatically updated.
How to insert a caption for an image in Word?
If your report includes tables or images, it’s recommended that you insert captions. To insert a caption, mark the image, go to the “REFERENCES” tab again, and click “Insert Caption”.
Here I can choose the label, whether it’s a Table, Figure or Equation, here I’ll just keep “Figure”. I’ll type in a description of the figure; “Top 10 SmartPhone Apps in US 2013” and then click “OK”.

I’ll do the same for all the images in the report.
How to insert a table of figures in Word 2013?
Now that I have all of my figures and images in the report marked I can easily add a list of them. To insert a Table of Figures, click the “REFERENCES” tab and select “Insert Table of Figures” and then click “OK”.
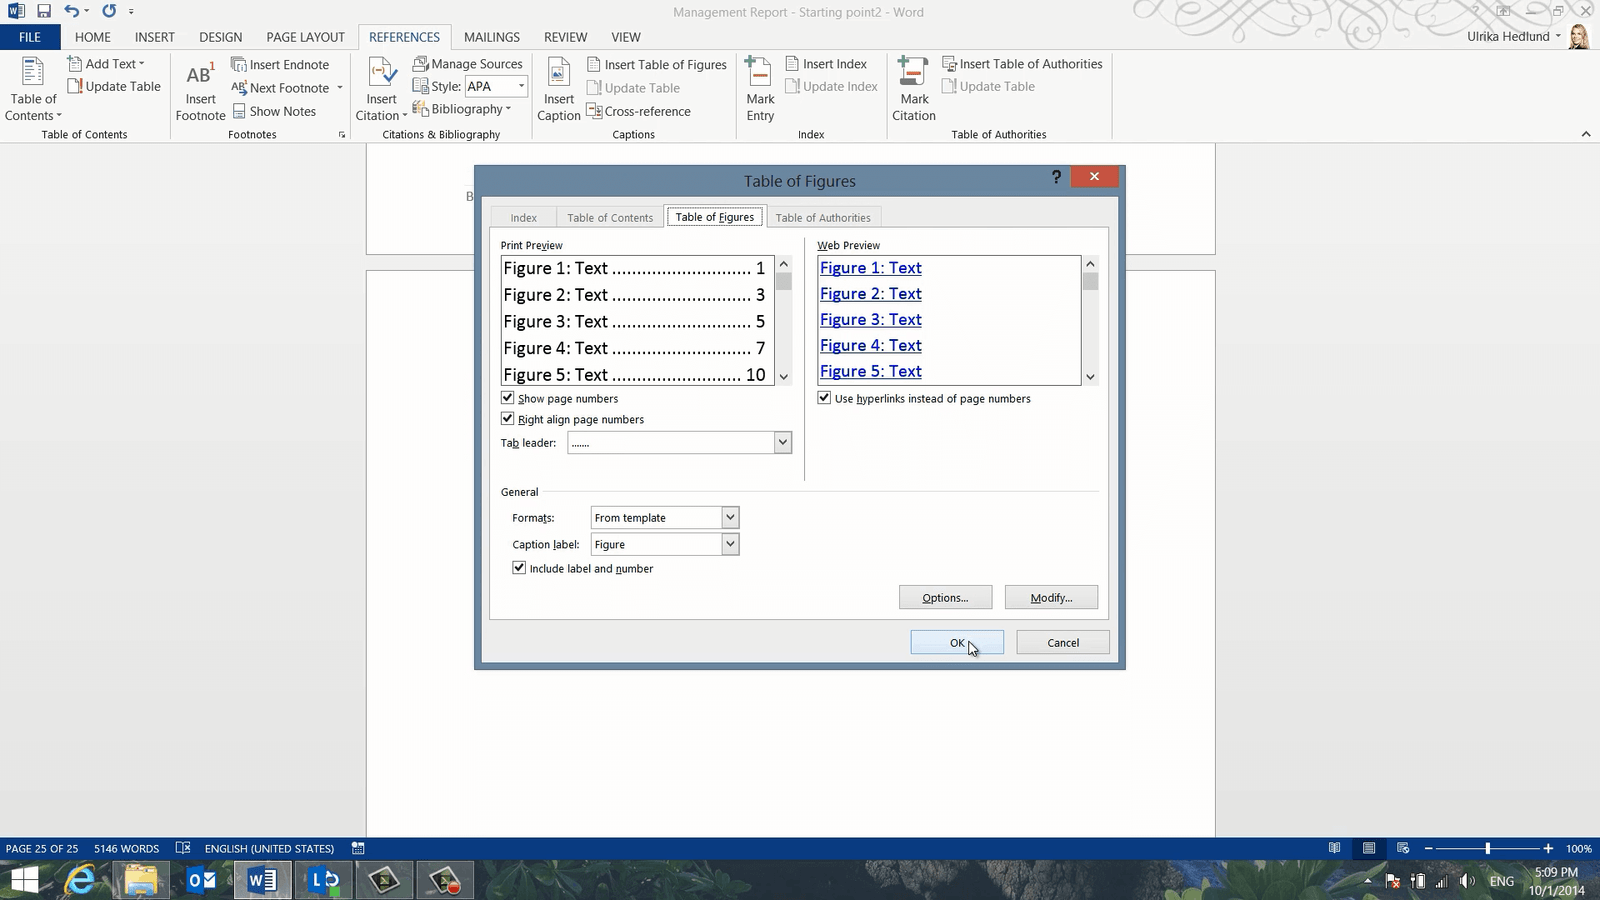
A list consisting of links to all your figures in the document will be inserted into your report.
How to create a table of contents in Word 2013?
Now for the final step, I want to insert a table of contents. To insert a table of contents, go to the page where you want it located, click the “REFERENCES” tab and then “Table of Contents”.
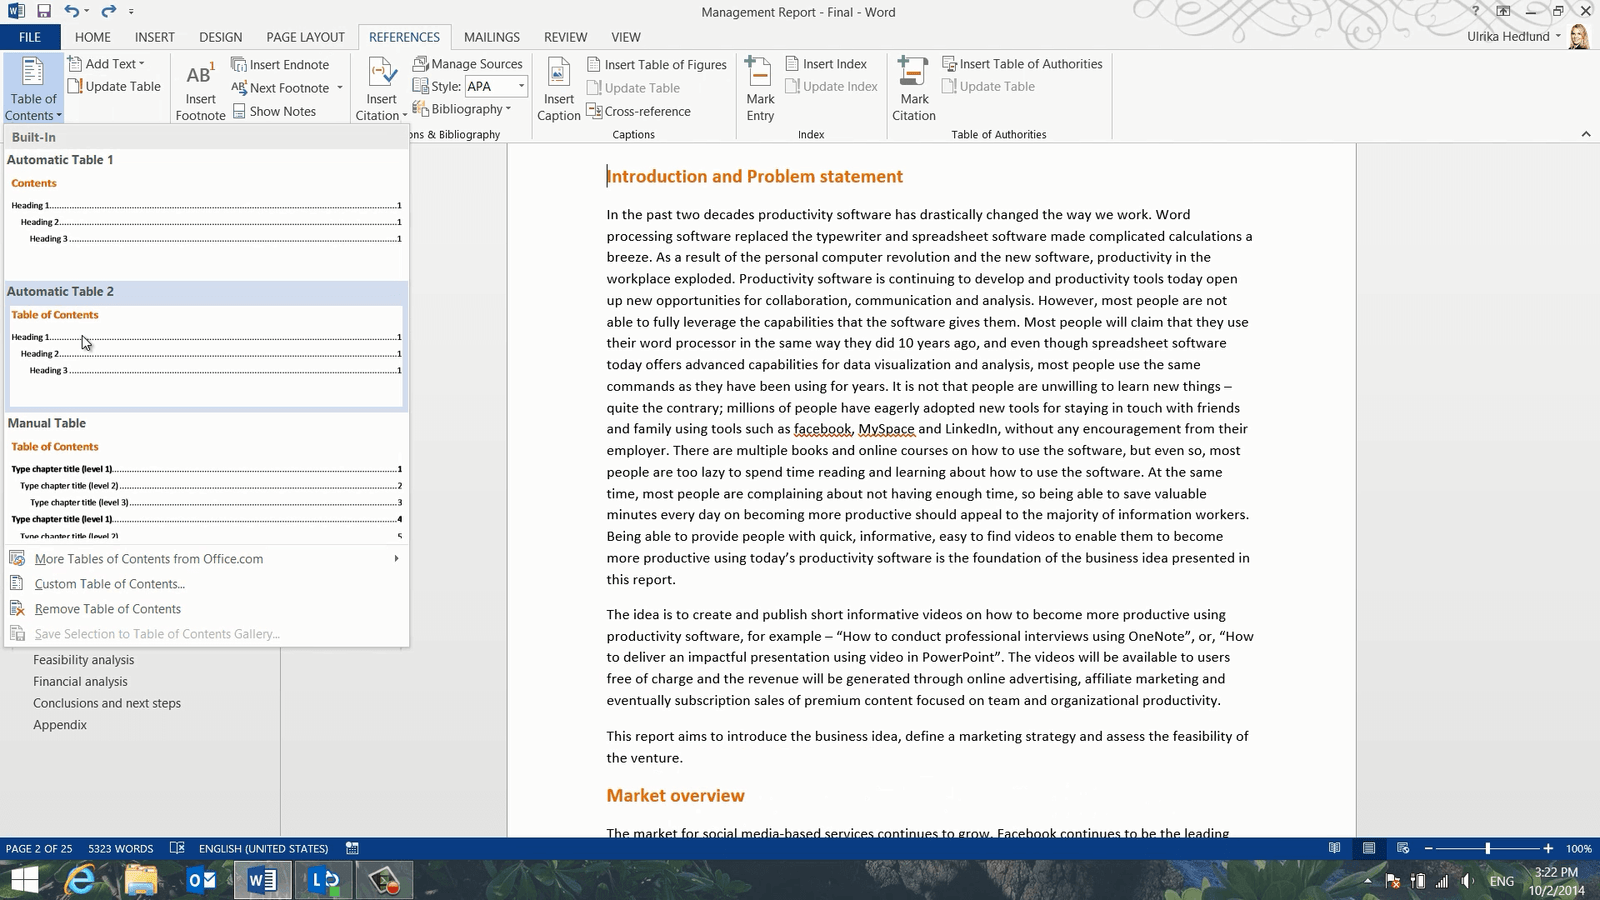
Here I’ll select the second design. As long as you are using heading styles the table of contents is automatically populated for you. I want the first paragraph to start on its own page, so I’ll go to the “INSERT” tab and click “Page Break”. Now I have to update the table of contents since everything has shifted. I’ll right-click the table of contents, click “Update Field” and then “Update entire table”.
There, now the report is done! Now it looks much more like a professional report which will definitely reflect positively on the reader’s overall experience of the document.
Many thanks. Very helpfull !!
We’re glad to hear!