
How to format and structure your documents in Word 2013?
Introduction
There are a number of built-in capabilities in Word that can help you add structure to your document. By using styles you can more easily navigate your document and move things around. For years you have been able to save Word documents as PDF, and in Word 2013 you can now also edit PDF documents. Let me show you.
How to apply styles to Word documents?
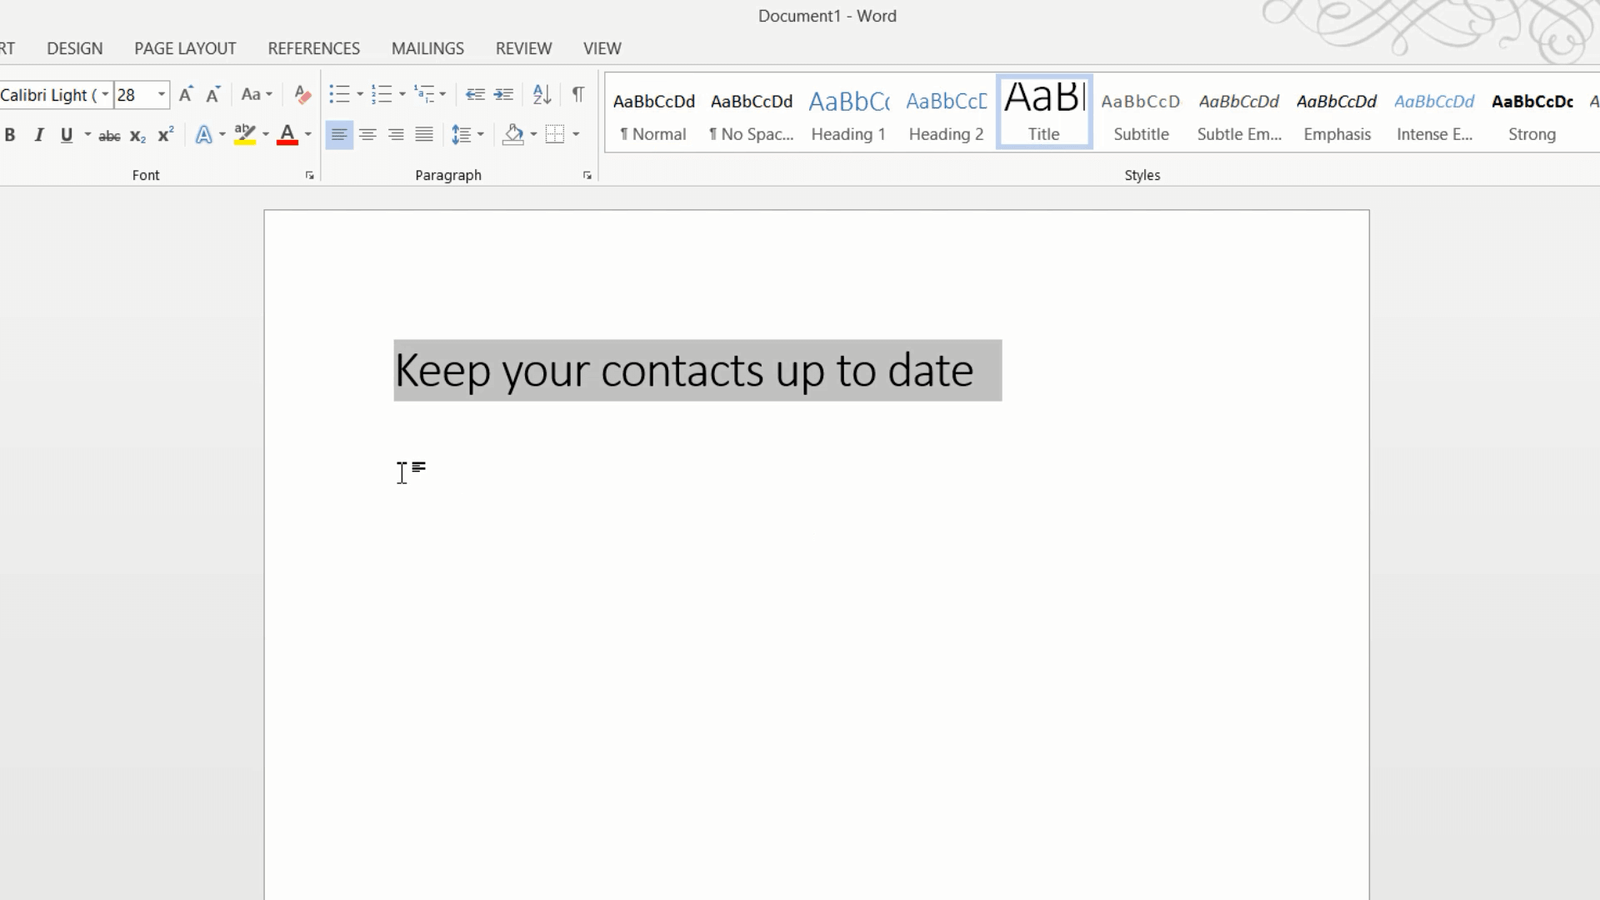
I’m going to write a new script for one of our videos. I’ll open up a blank document and start with the title, “Keep your contacts up to date”. To make it easier to format and navigate the document I’m going to apply styles. To apply a style to the title I’ll mark the title and click on the “Title” style.
I’m not thrilled about the formatting applied, but I’m going to leave it for now and change the look and feel of the entire document when I’ve finished writing all the text.
Next, I’ll write the outline for the script. The outline will also work as the headings for each paragraph. When I’ve written all the headings I’ll mark them and apply the “Heading 1” style. Now I’ll just write the text for each section and finally, I’ll add information about the video at the top. I’ll mark the informative text at the top and select to apply the “Subtle Emphasis” style.

How to manage paragraphs in Word?
By applying heading styles it is much easier to navigate and work with the document. In Word 2013 I can get a good overview of the contents by collapsing and expanding the paragraphs. To collapse a paragraph place your cursor on the heading, right-click and select Expand/Collapse – Collapse Heading.
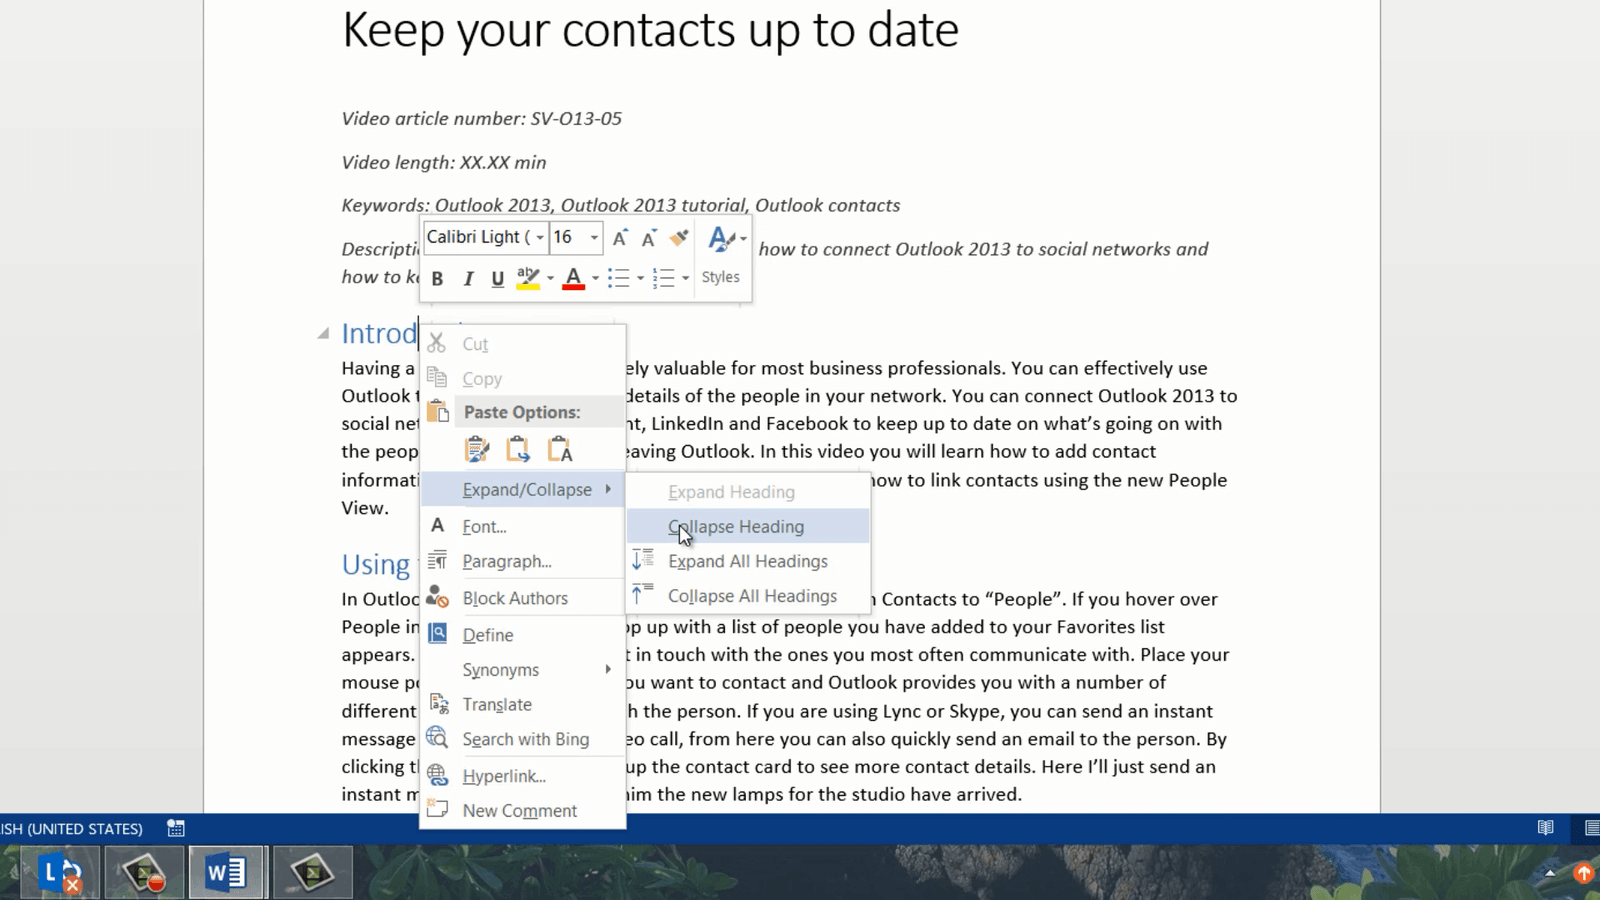
This option will only be available if you have applied a heading style. Another, quicker way to collapse the paragraph is to click the little grey triangle to the left of the heading. If you want to collapse all paragraphs right-click any heading and select Expand/Collapse – “Collapse all headings”.

Now you can focus your attention better by only expanding a single paragraph. To go back to the original layout right-click and select Expand/Collapse – “Expand all headings” and the full document will show.
How to arrange paragraphs in Word?
To quickly re-arrange paragraphs in your document, click the “VIEW” tab and then mark the “Navigation Pane”.

Here you can see all the paragraphs in your document if you have applied styles. You can easily navigate your document by just marking a heading to go to that paragraph. To change the order of a paragraph just grab it by holding down the left mouse button and then drag and drop it, and the whole paragraph is moved. To go to the beginning of the document click the little arrow which takes you back to the first page.

How to change styles in Word?
I’ll close down the “Navigation Pane”, and now I want to work on the look and feel of the document. To make it easier to change formatting, Word has a number of built-in style sets that you can use. To apply a style set to your document, click the “DESIGN” tab and select a style from the style set gallery.
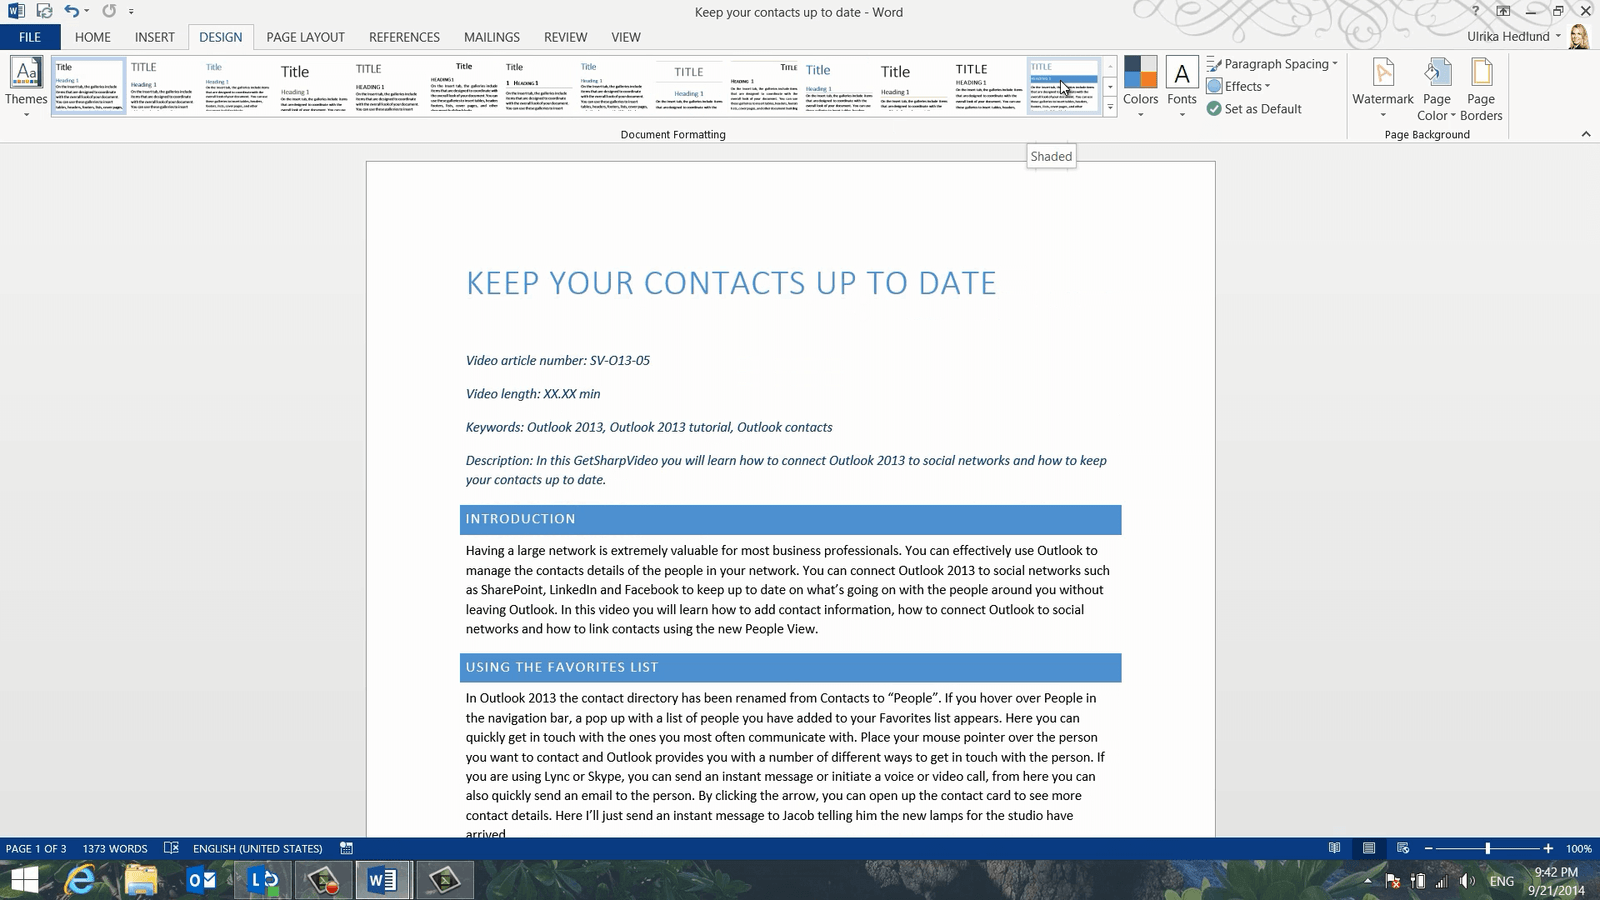
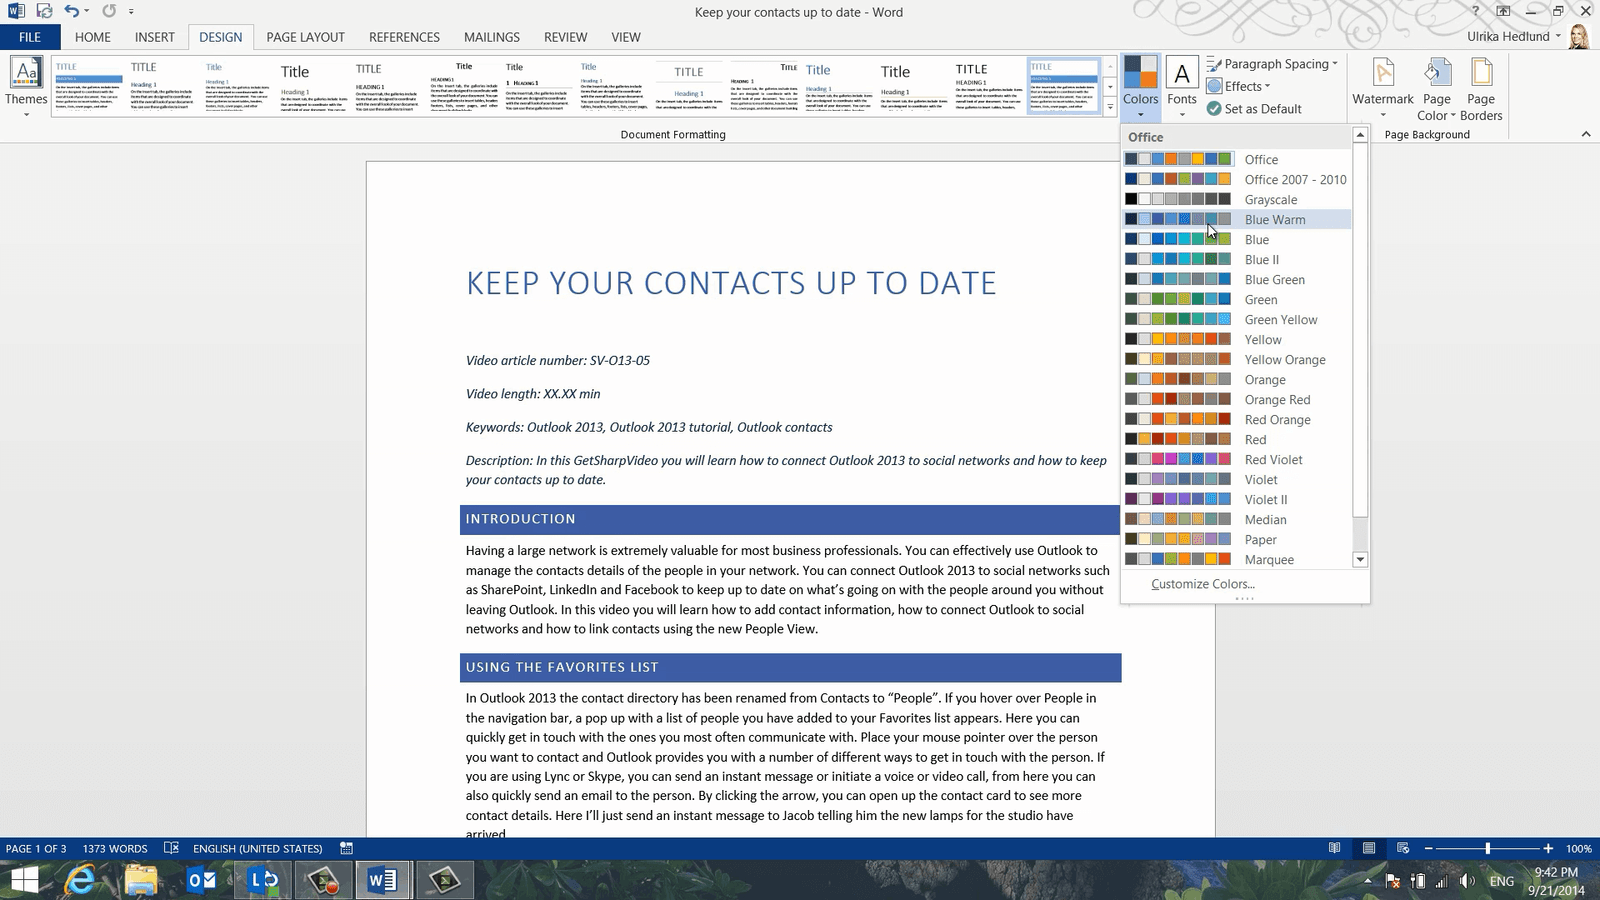
A style set is a combination of fonts, colors, and layouts. You get a live preview of what your document will look like using different style sets. I’ll select this “Shaded” style set. This is a good start but I want to make some changes. To change the colors used in the style, click “Colors”, and see which color combination you prefer.
How to create numbered headings in Word?
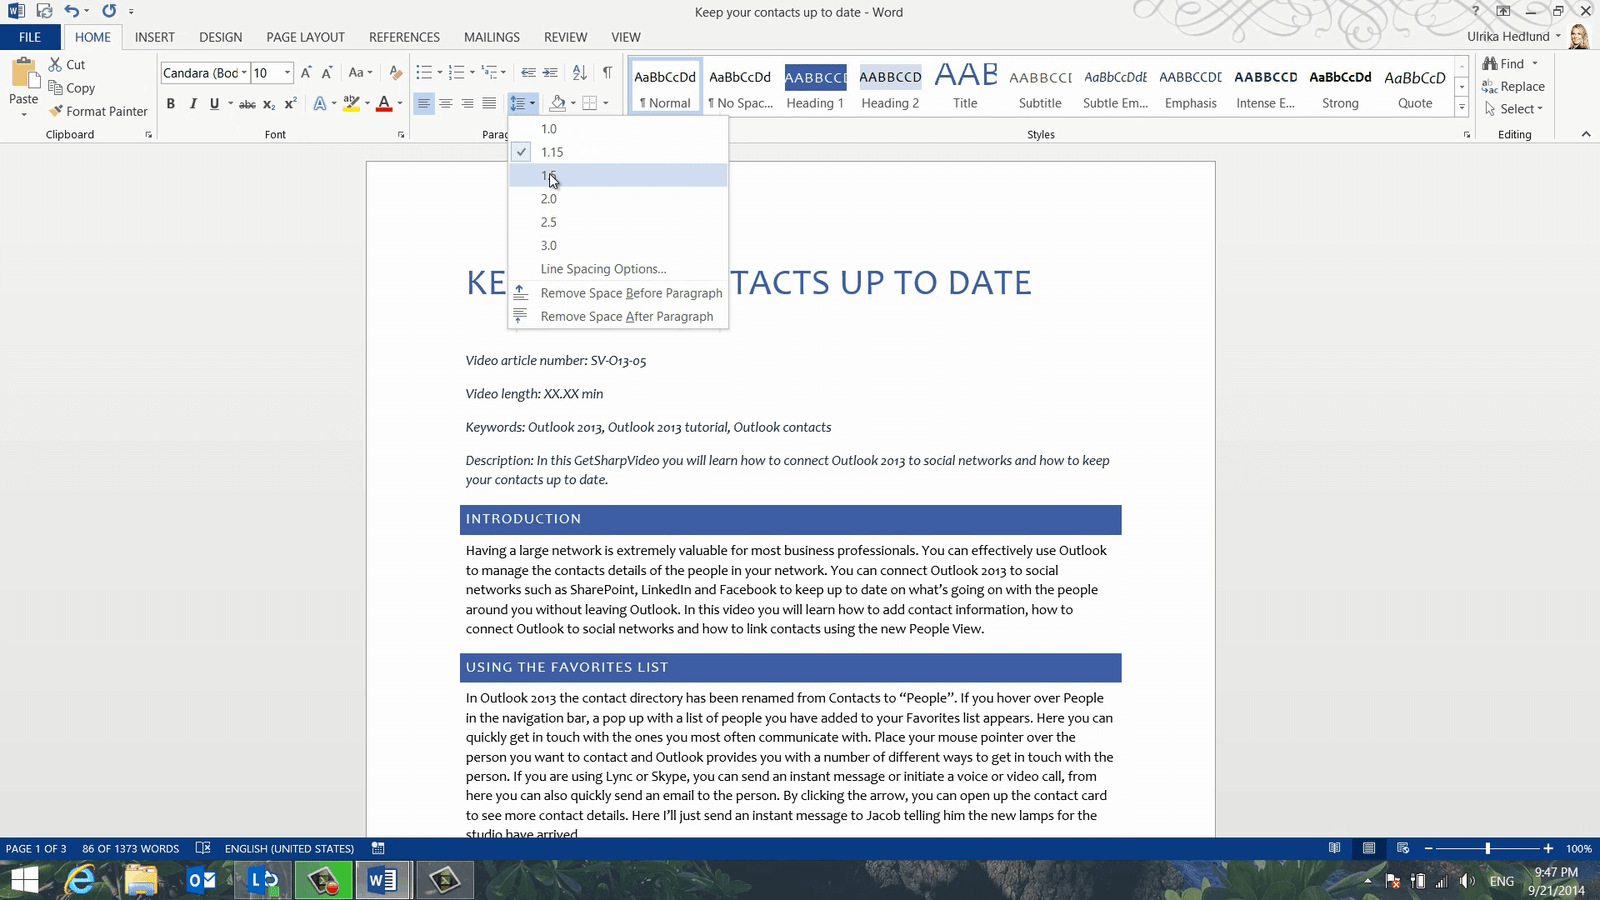
I can continue to tweak the formatting until it’s exactly the way I want it. For example, I want to add some more space between the lines of the text. I’ll mark the first paragraph by double-clicking in the margin next to the paragraph. I’ll go to the “HOME” tab and click the Line and Paragraph Spacing” button and change the line spacing to 1.5.
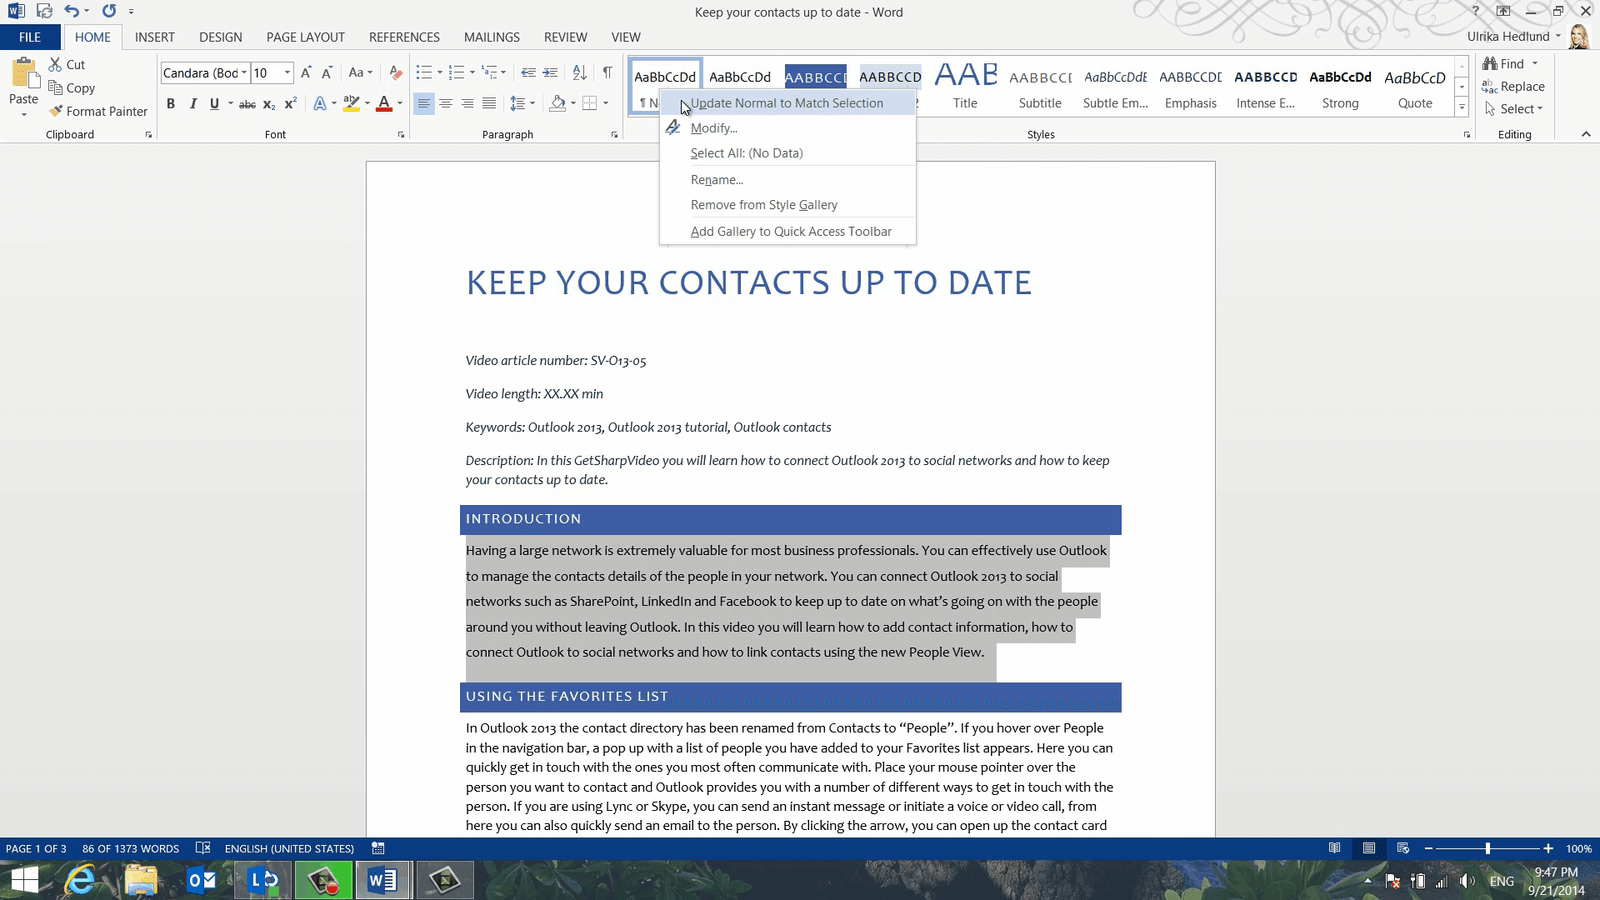
To apply this change to the entire document, I’ll right-click the “Normal” style used for the text and select “Update Normal to Match Selection”.
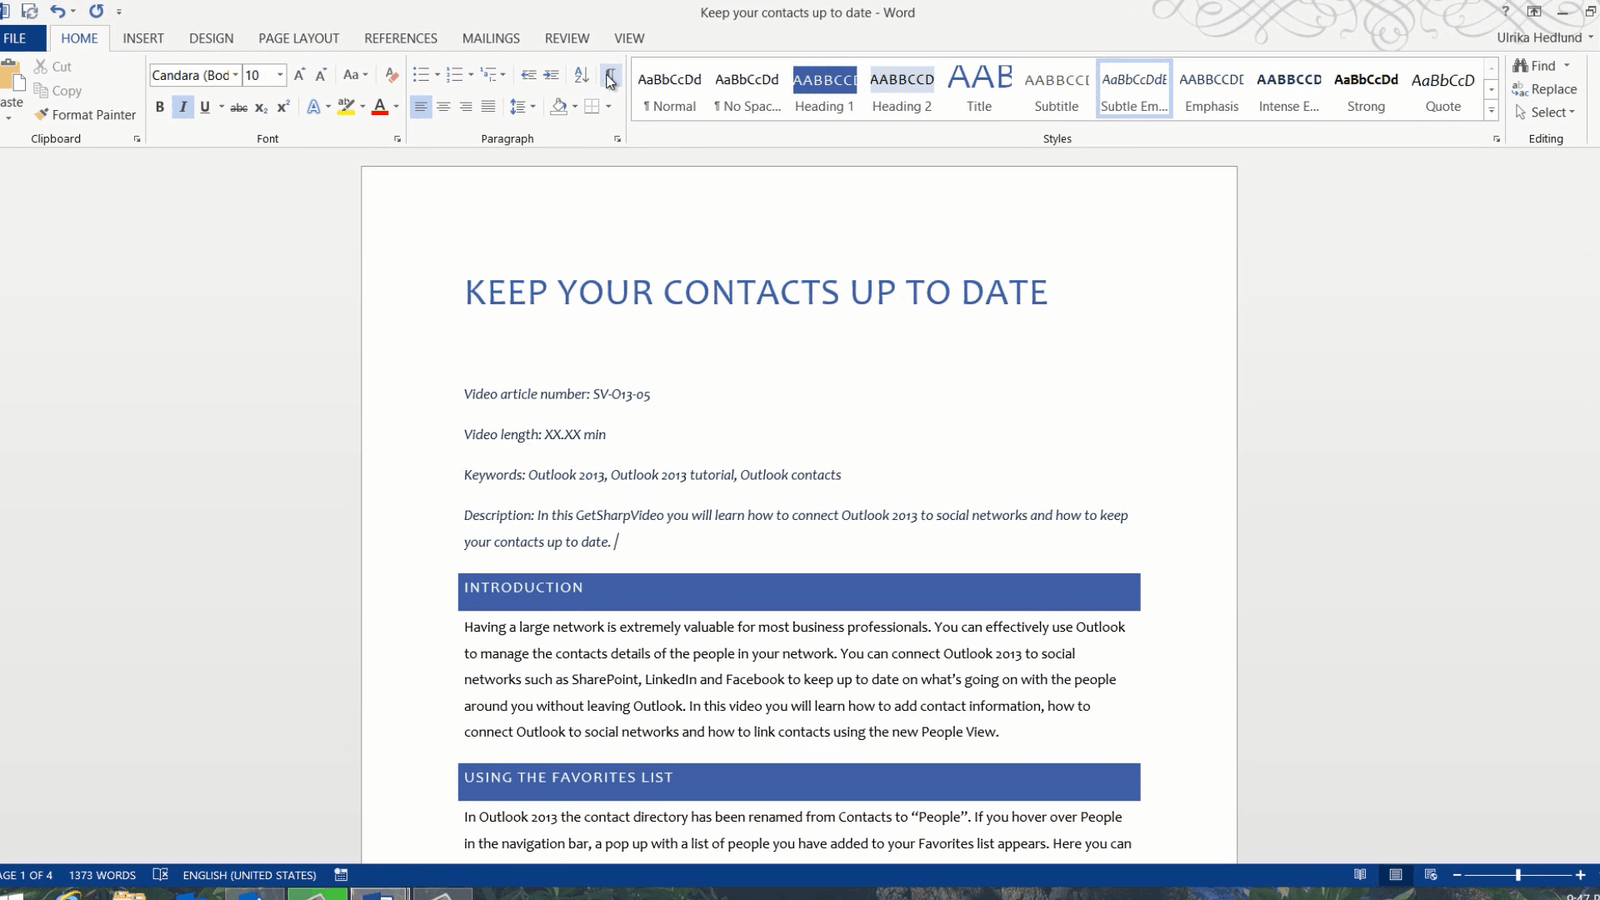
There, now more space is added to the entire document. This looks fine, however, I want the video information at the top to be more compressed. Click the Show/Hide paragraph button on the “HOME” tab to see all paragraph ending marks.
I’ll remove the one at the very top by just pressing delete on my keyboard. To remove the space after the paragraphs and make the text more compressed mark the text, click on the “Line and Paragraph spacing” button and click “Remove Space After Paragraph”.
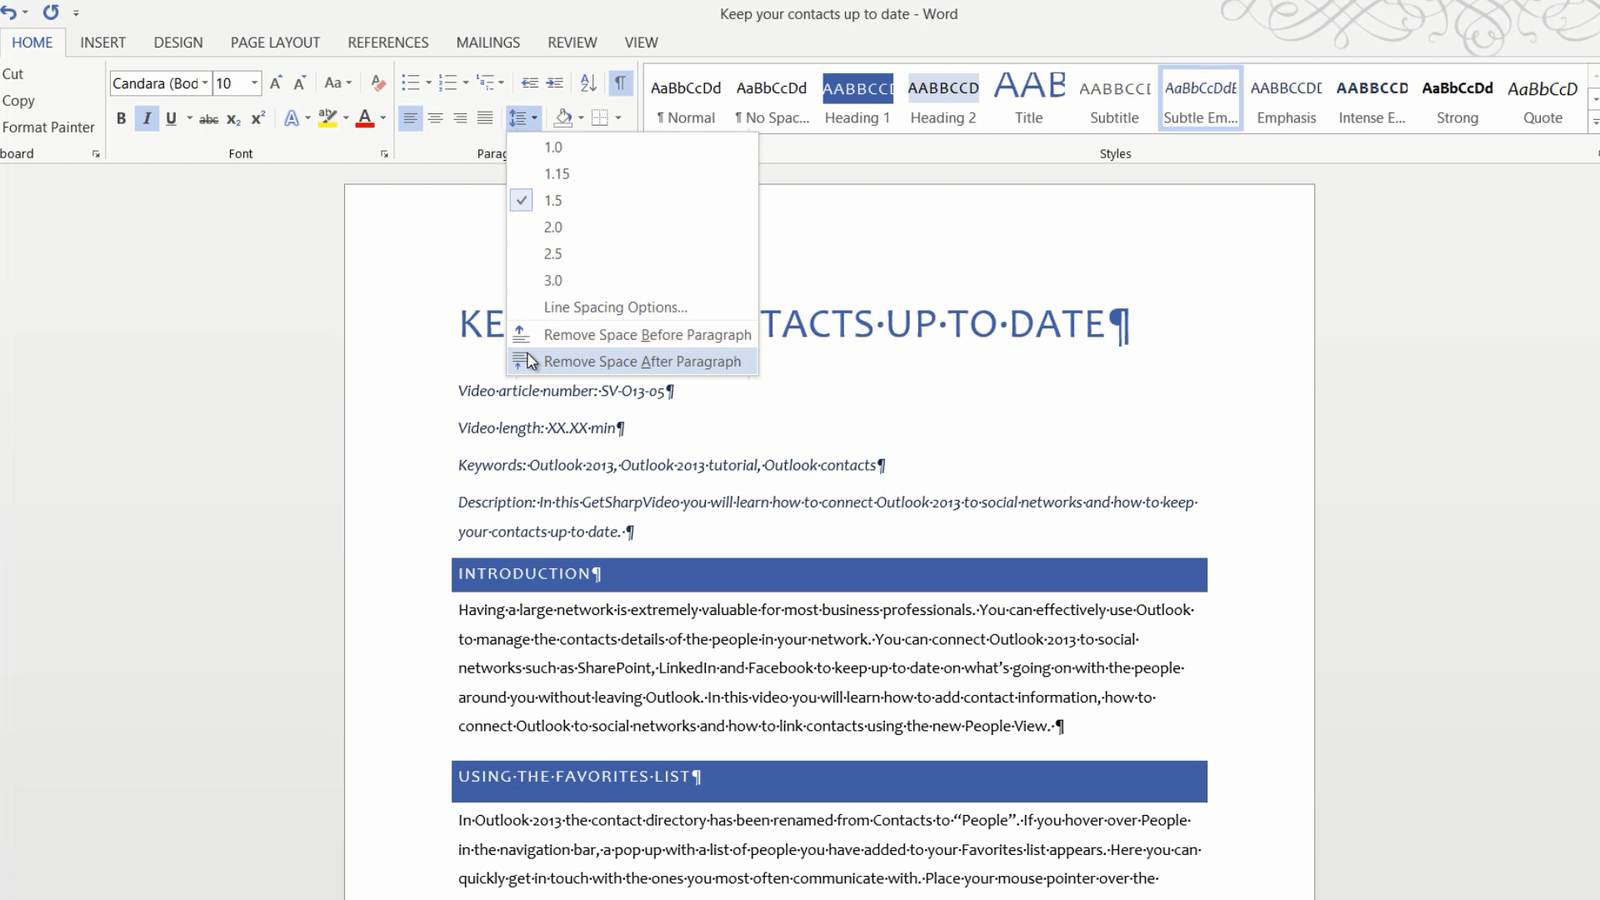
To make it even more compact I’ll click again and select “Remove Space Before Paragraph”. If I want it even tighter I can decrease the line spacing, but I prefer to have a bit more space so I’ll click undo twice. To save these changes to the style I’ll right-click the “Subtle emphasis” style and select to “Update Subtle Emphasis to Match Selection”.

To hide the paragraph marks again click the “Show/Hide” paragraph button.
How to create numbered headings in Word?
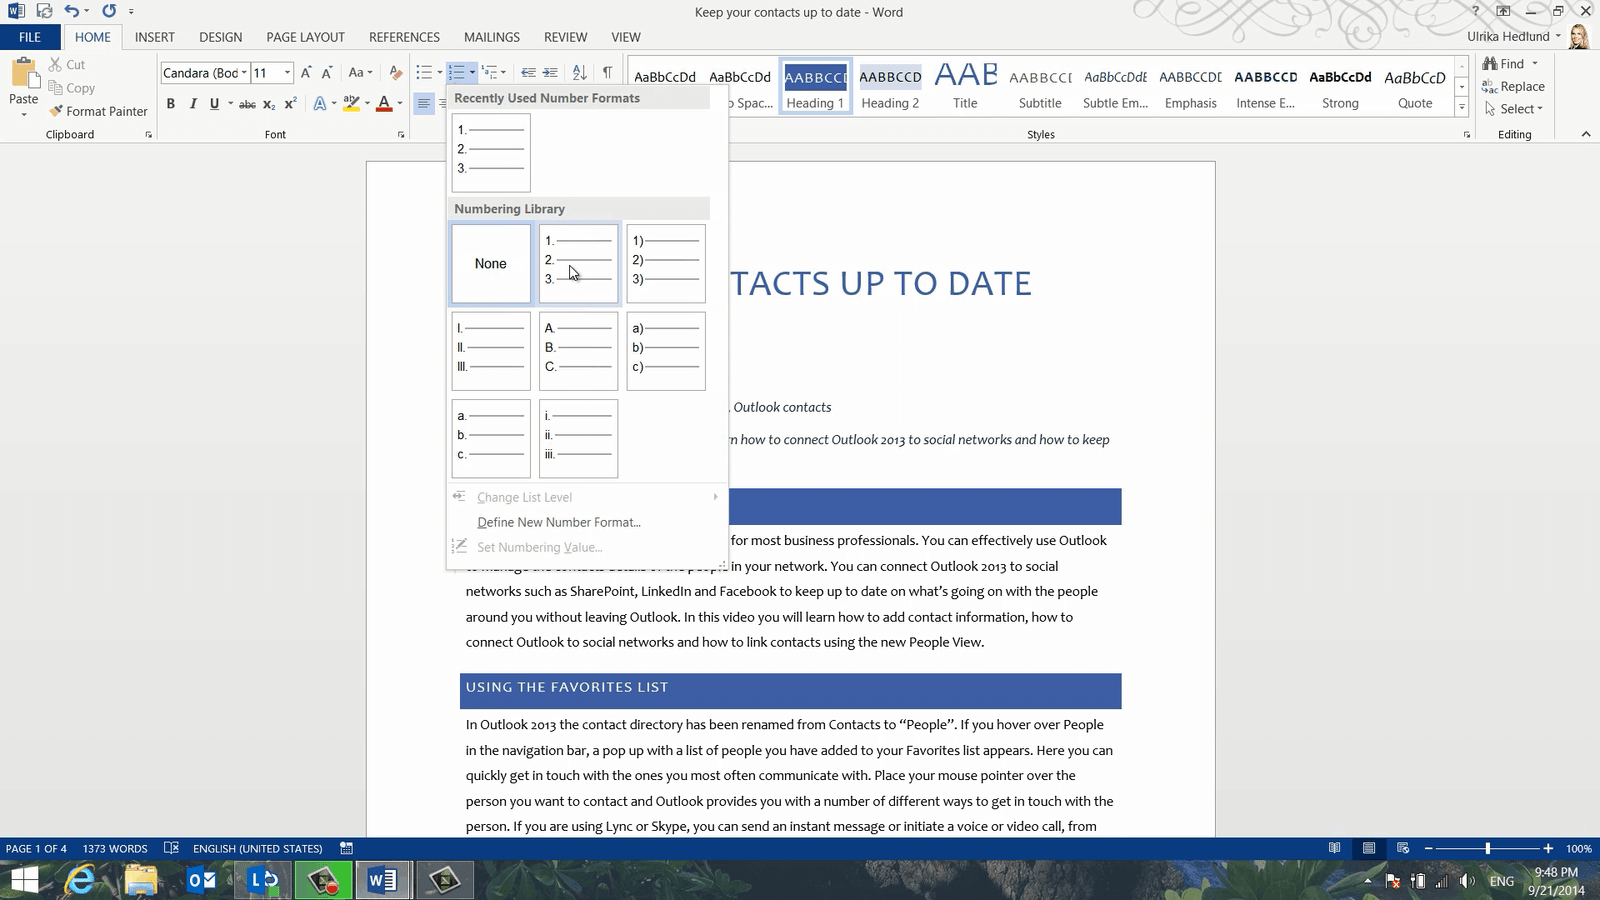
Next, I want to add heading numbers. To add numbers to your heading style, mark a heading and click “Numbering” in the Paragraph section of the “HOME” tab. Select a number format of your choice.
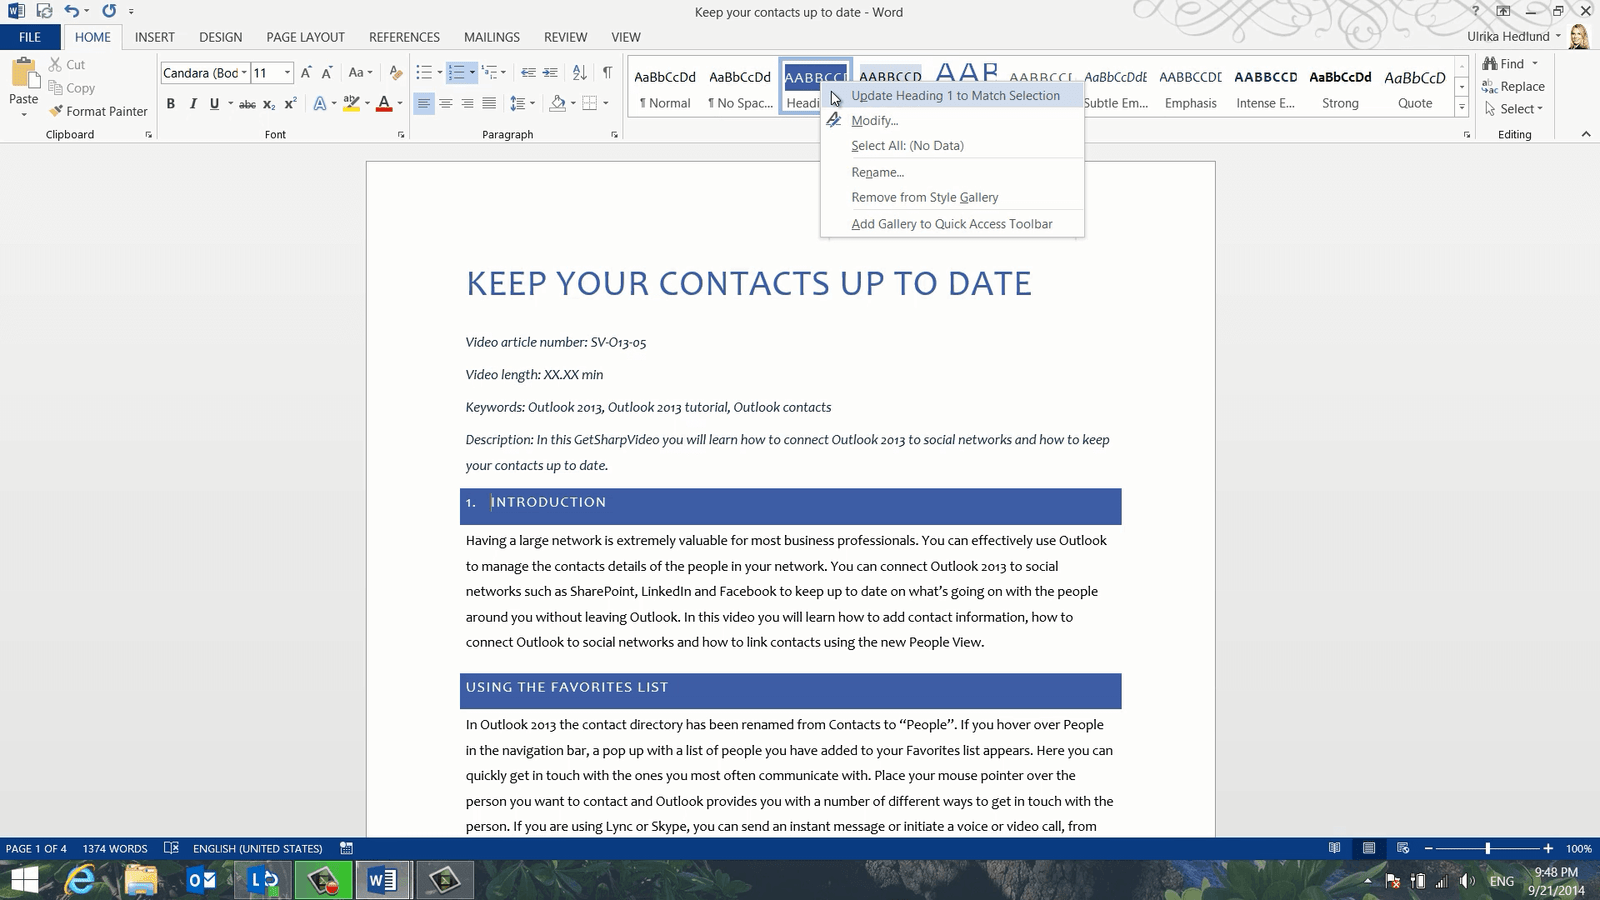
By default, Word indents numbered lists. To remove the indent click the “Decrease Indent” button. To apply this change to the heading style, right-click the “Heading 1” style and select “Update Heading 1 to Match Selection”.
As you can see all the headings are automatically numbered.
How to save a new style set in Word 2013?
Now that I’m happy with all the formatting I want to save this style for future video scripts so that I don’t have to make the changes all over again. To save a style set go to the “DESIGN” tab, open up the Style Set Gallery and click “Save as a New Style Set”.
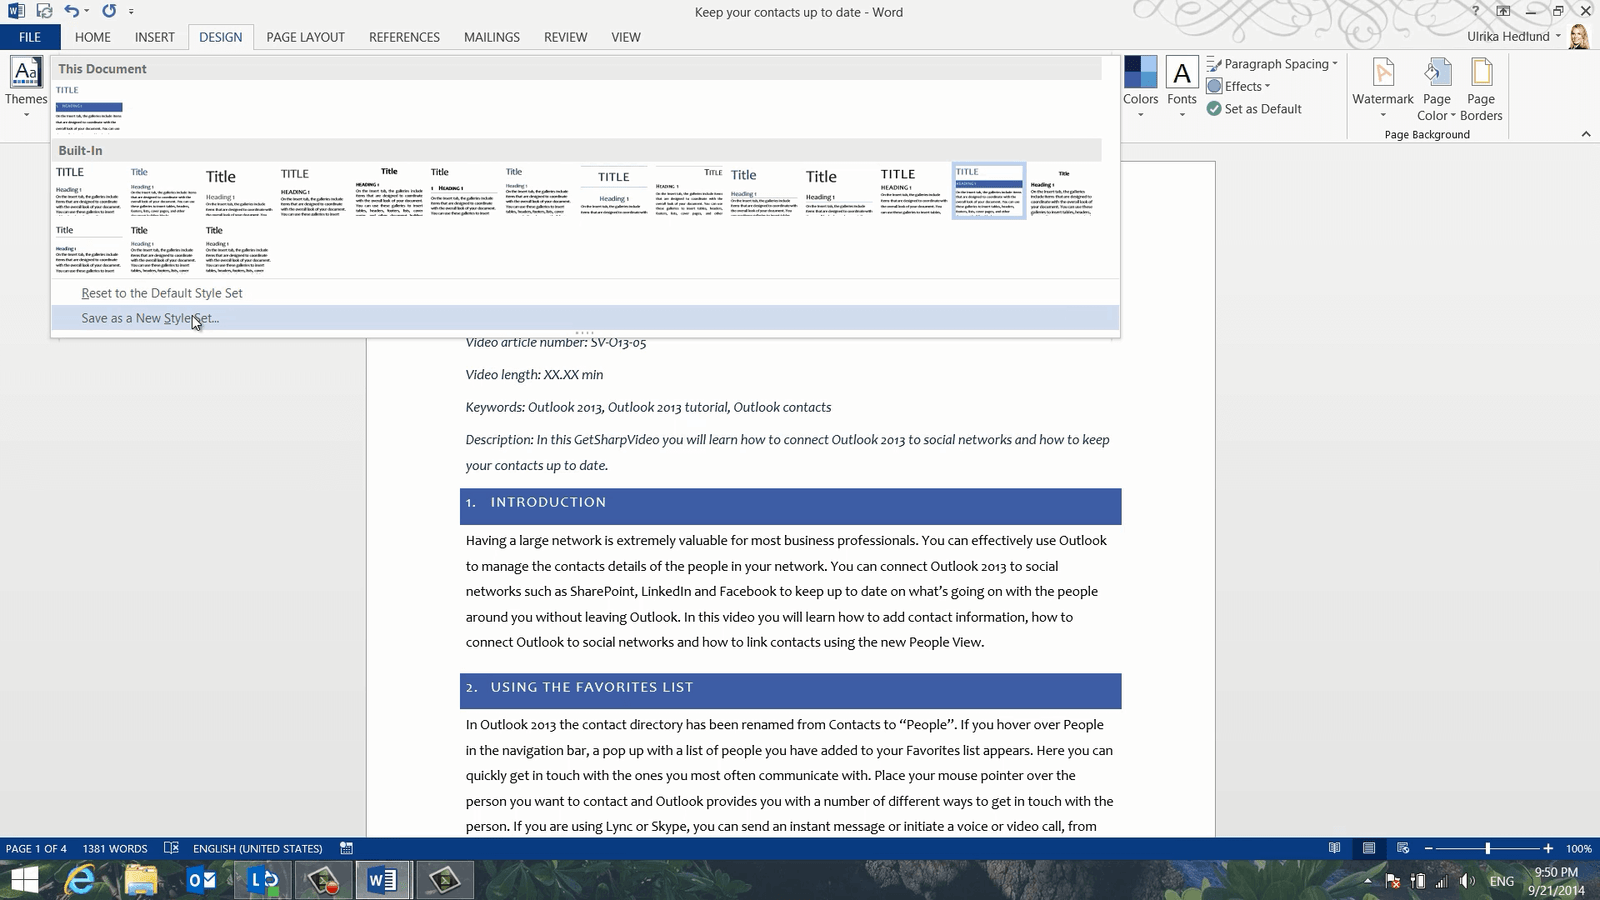
Give it a name, I’ll name this “Video Script Design”. If you open up the Style Set Gallery, you will see the newly created Video Script Design style in the “Custom” section. By saving your style sets you don’t have to waste time formatting your documents over and over again.
How to create a template in Word?
In addition to the formatting, this video script follows a certain text pattern. It has the article number at the top followed by the video length, keywords a description and then the actual script starts off with an introduction. A Style Set only saves the design, not the contents of the document. If you want to keep some of the text in your document it’s better to save it as a document template. To make sure I don’t overwrite my script by mistake I’ll close down the document. I’ll open up Word again and in the “Recent document” section I’ll right-click and select “Open a copy”.

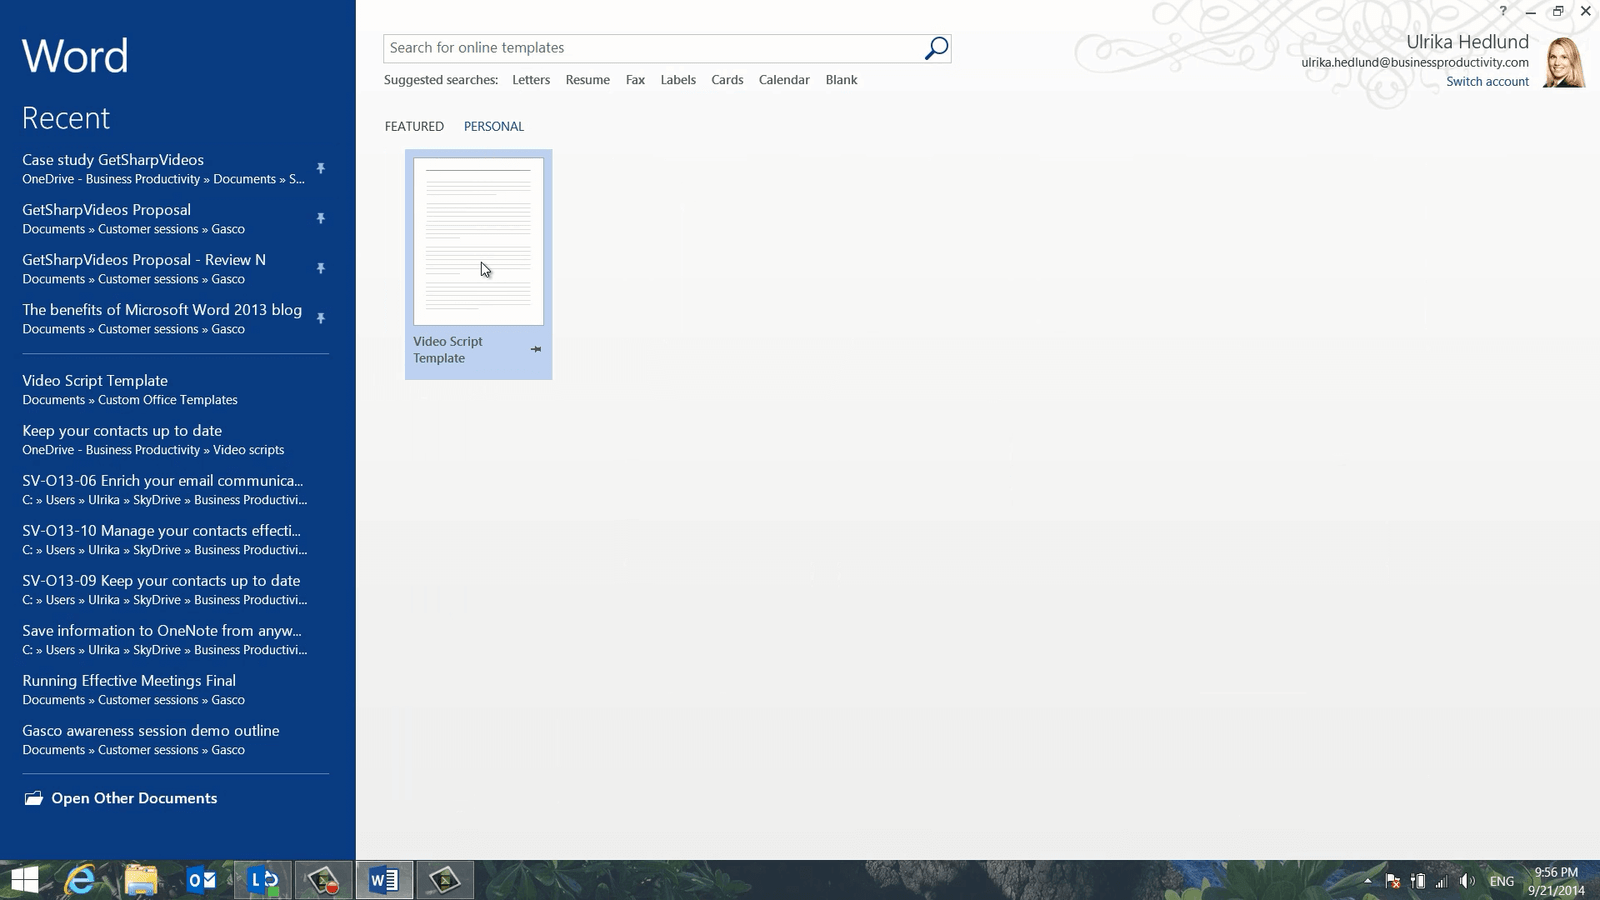
Now I’ll remove all the specific text and make it more generic. To save it as a template I’ll click “FILE”, “Save As” and then I’ll select “Word Template” in the file type drop down. I’ll give it a name, “Video Script Template”.

Next time I open up Word, my template is available under the “PERSONAL” section on the start page.
How to save Word documents as PDF
Let’s go back to my initial video script again. I’ll open it up from my “Recent documents”. When I’m done with the final script I want to save it as a PDF document. To save a document as a PDF click “FILE” and then “Export”, “Create PDF/XPS” and then click ”Publish”.

Your document is exported into a PDF document that you can easily share with others.
Edit PDF documents in Word 2013
Sometimes you need to make changes to PDF documents. Here I have some other scripts I have written that I would like to apply my newly created style too. The problem is I only have them as PDF documents. In Word 2013 you can open up and edit PDF documents. To open up a PDF document in Word, right-click the PDF document and select to “Open with” Word.

You’ll get a warning that the document might not look the same in Word as in Adobe. Click “OK” to open up the document. The PDF document opens up and as you can see in this case the formatting looks quite alright. So now I can continue to work on this script and apply my newly created style set in Word.
Closing
By knowing how to add structure to your documents using styles you’ll be able to save a lot of time when it comes to navigating and formatting documents.
Leave a Reply